Skip to content
About
Contact
Cookie Policy
Copyright Policy
Disclaimer
Search
Home
Dinner
Appetizer
Desserts
Drinks
About
Contact
Privacy Policy
Toggle Menu
Home
/
Appetizer
- Page 14
Appetizer
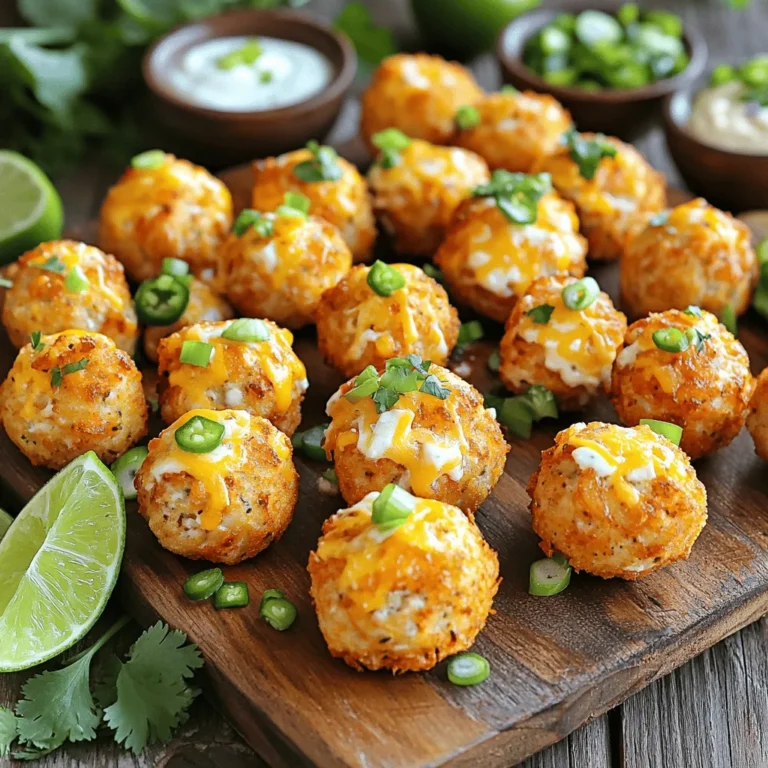
Texas-Style Rattlesnake Bites Flavorful and Simple Treat
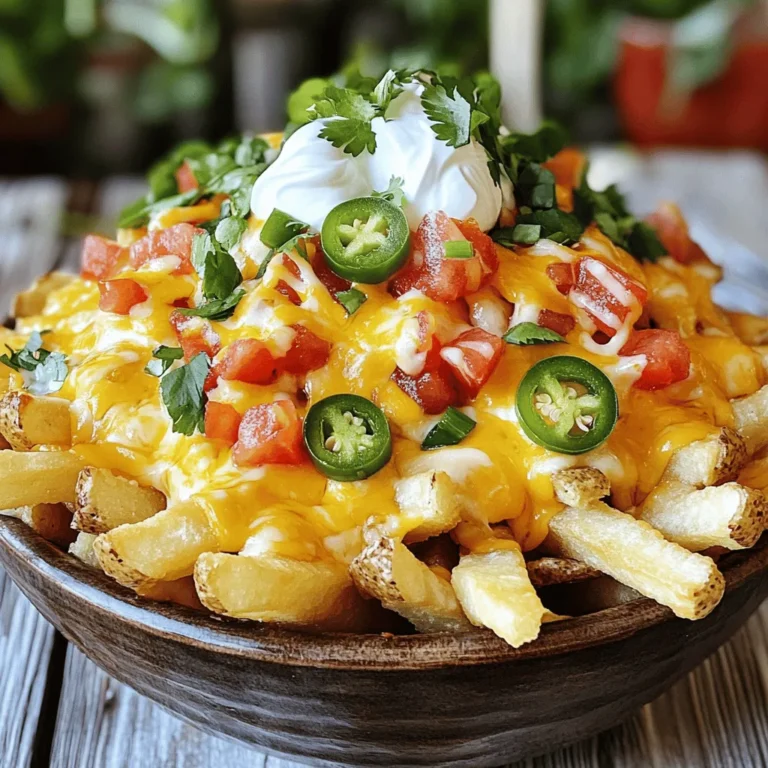
Taco Bell Nacho Fries Flavorful and Easy Recipe
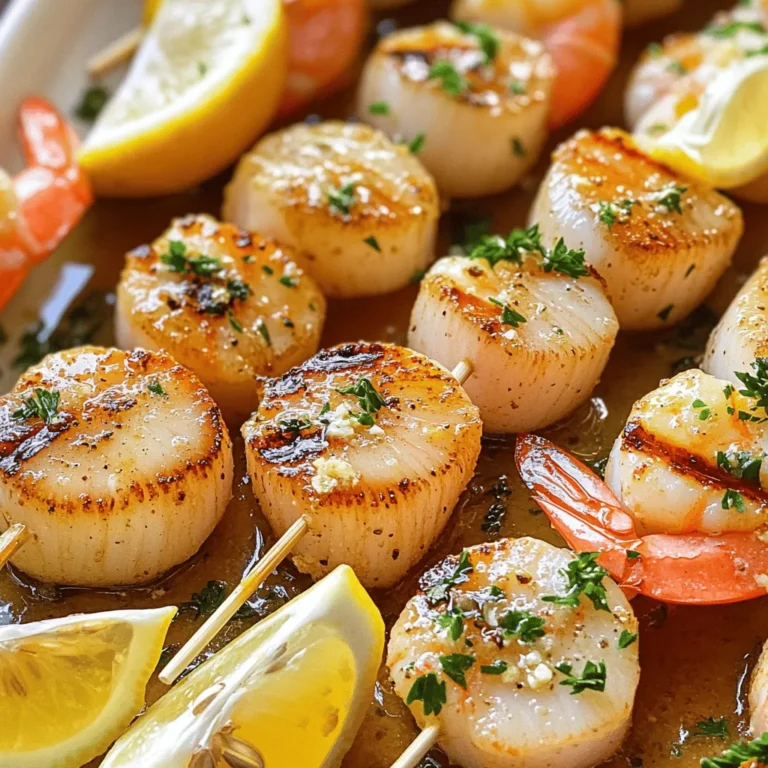
Buttery Scallop and Shrimp Skewers Deliciously Grilled
Cranberry Glazed Meatballs Simple and Tasty Recipe
Savory Beef & Cheese Empanadas Quick Comfort Dish
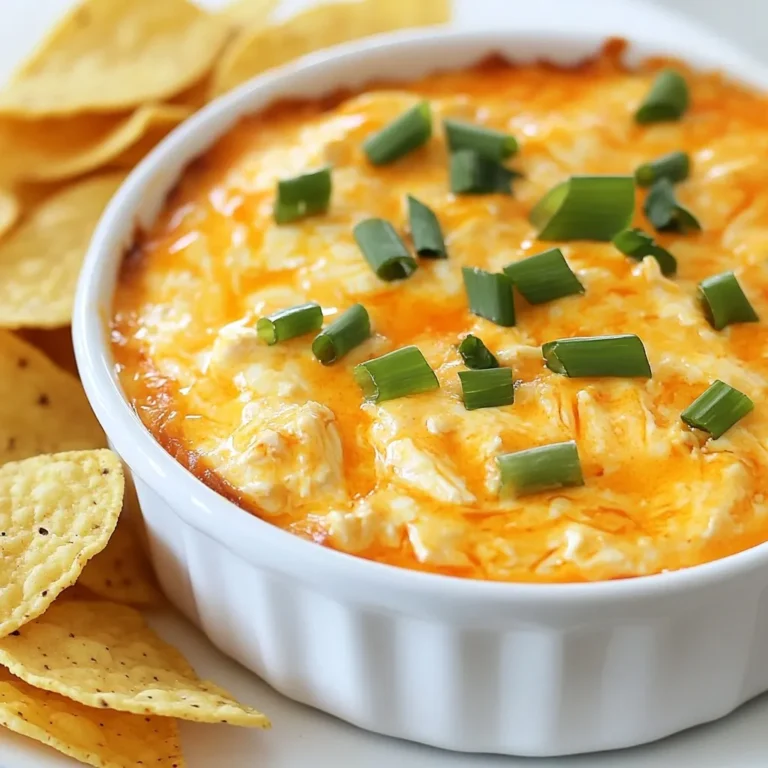
Chilled Buffalo Chicken Dip Savory and Simple Delight
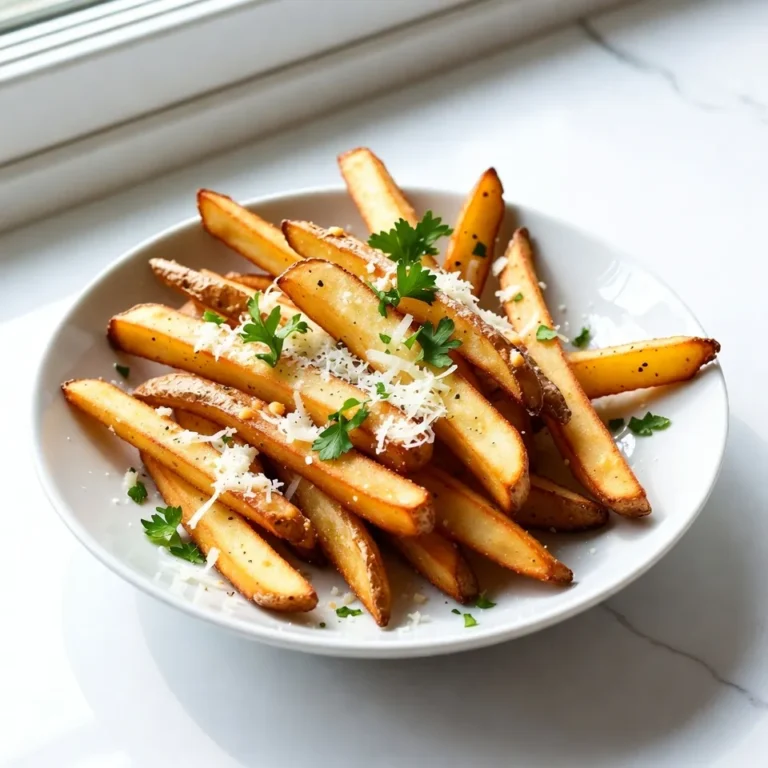
Garlic Parmesan Fries Simple and Flavorful Recipe
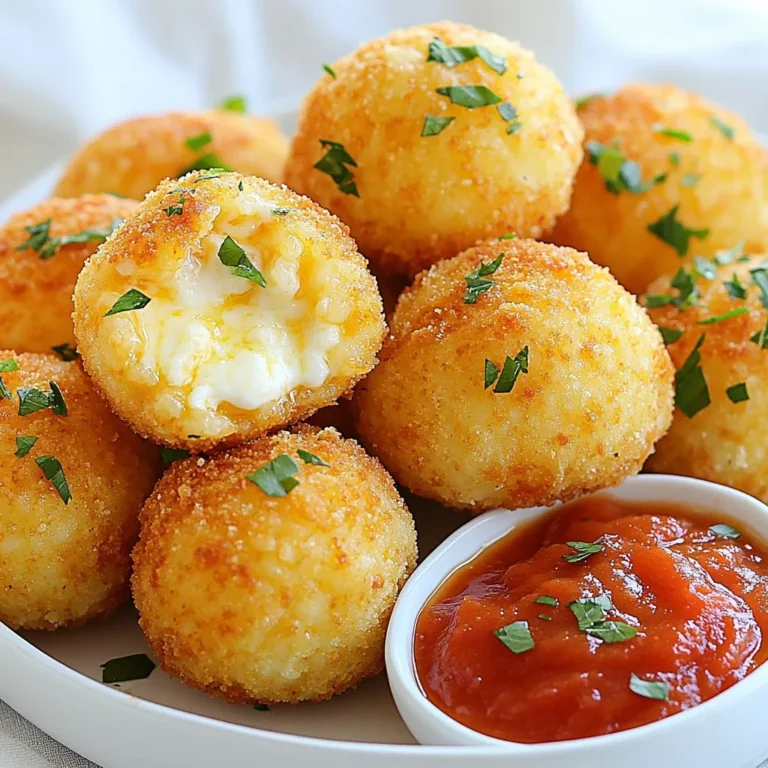
Easy Baked Arancini Simple and Delicious Recipe
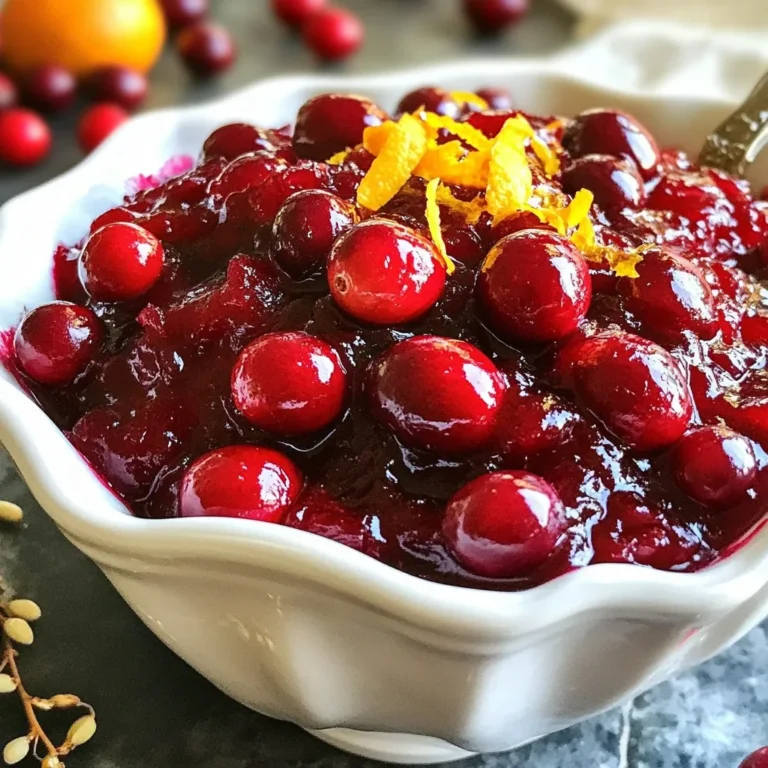
Honey Bourbon Cranberry Sauce Tasty Holiday Delight
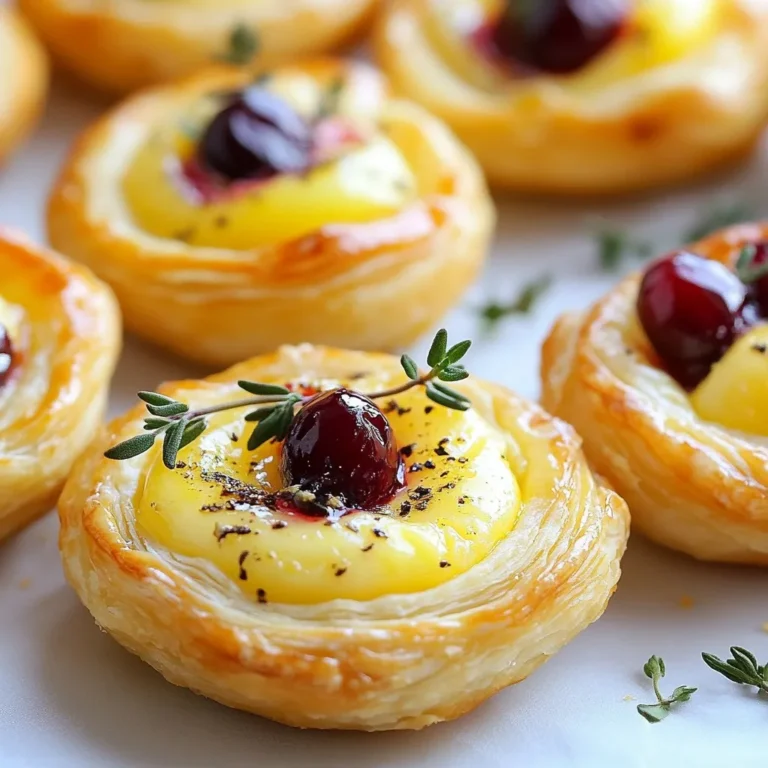
Cranberry Brie Bites Tasty and Simple Party Snack
Page navigation
Previous Page
Previous
1
…
12
13
14
15
16
Next Page
Next
Home
Dinner
Appetizer
Desserts
Drinks
About
Contact
Privacy Policy
Toggle Menu Close
Search for:
Search