Skip to content
About
Contact
Cookie Policy
Copyright Policy
Disclaimer
Search
Home
Dinner
Appetizer
Desserts
Drinks
About
Contact
Privacy Policy
Toggle Menu
Home
/
Appetizer
Appetizer
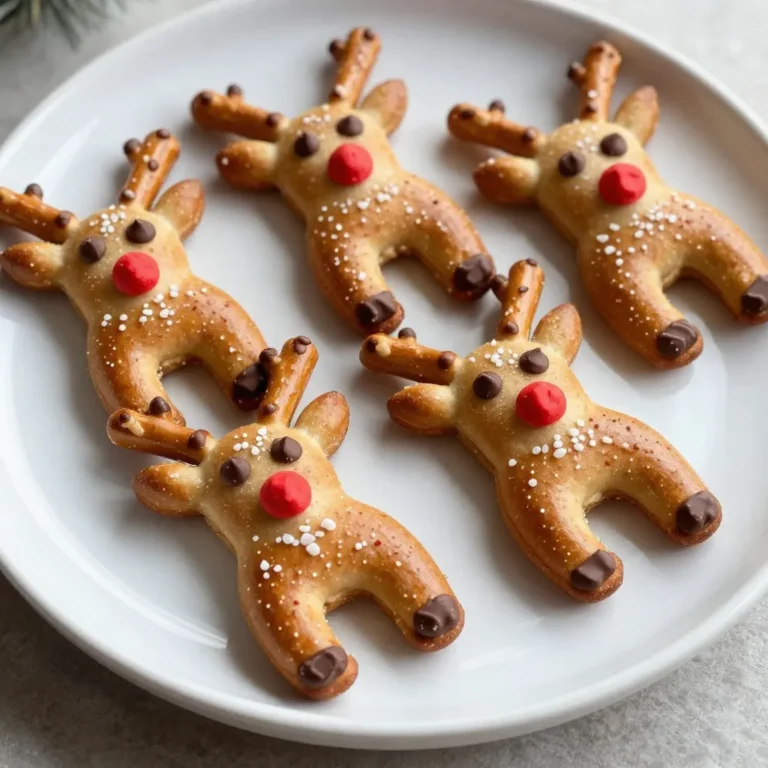
Reindeer Pretzel Bites Irresistible Holiday Treat
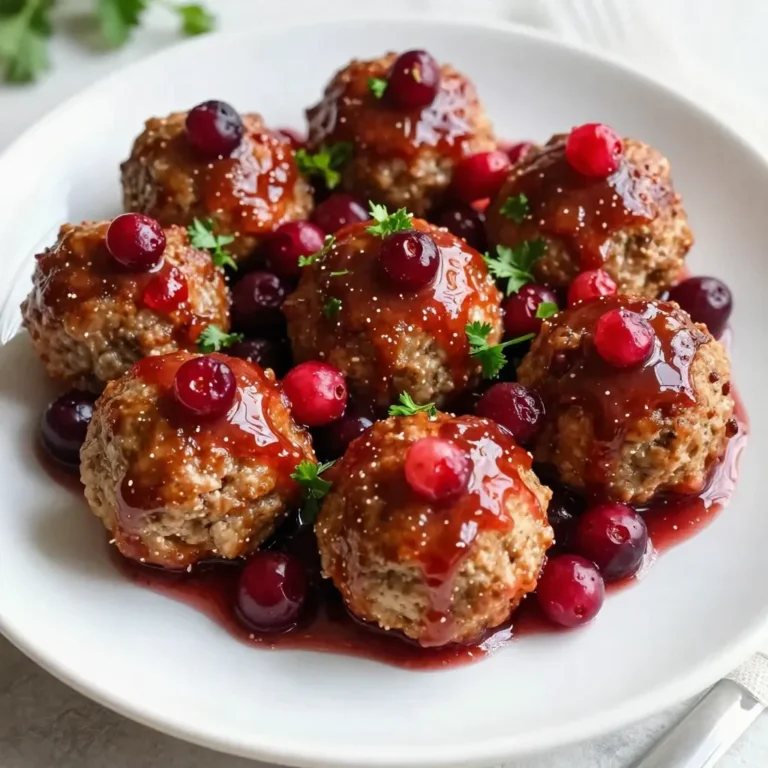
Cranberry Holiday Meatballs Savory and Easy Recipe
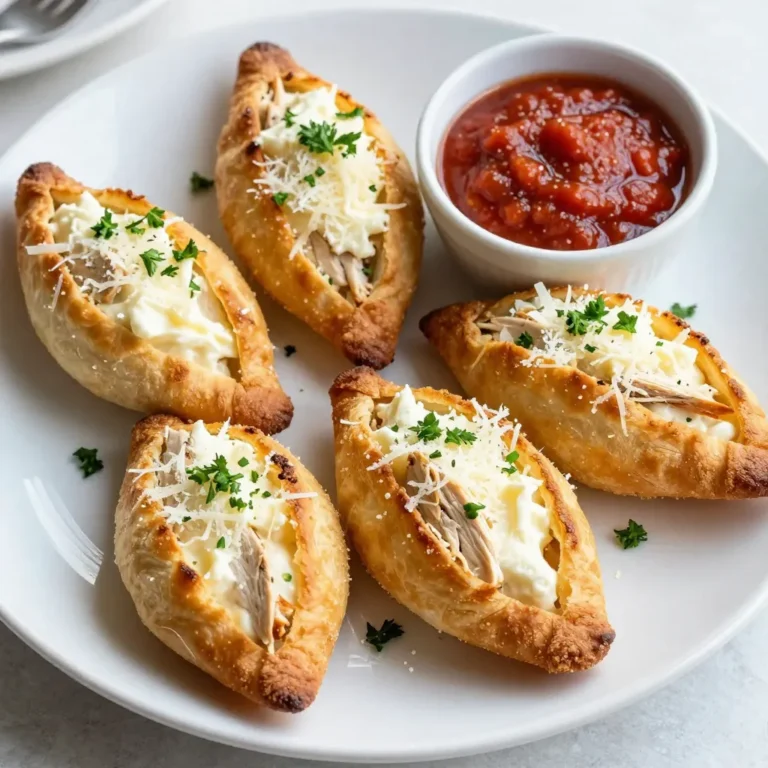
Creamy Parmesan Chicken Pillows Simple and Tasty Dish
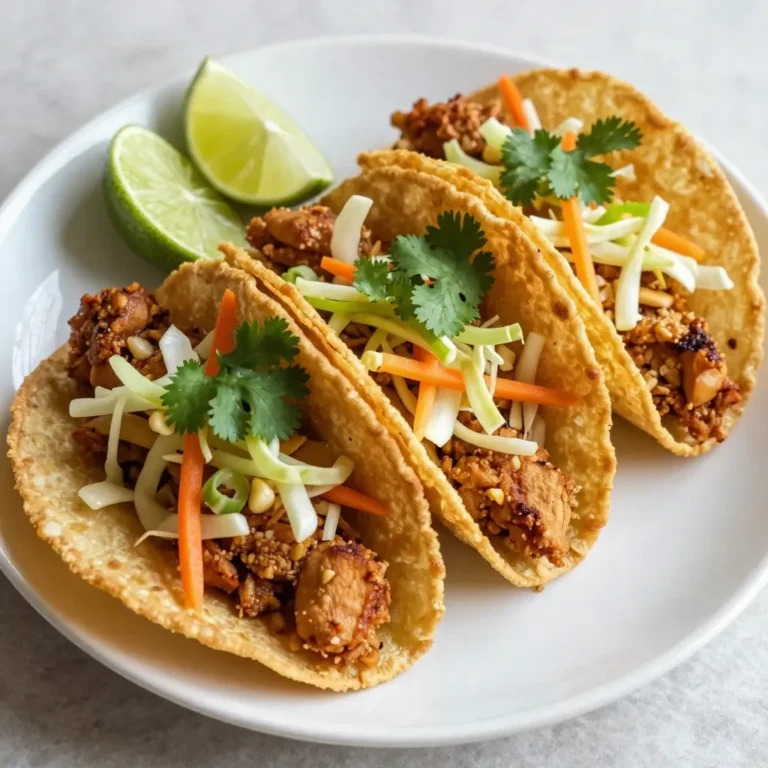
Crispy Chicken Wonton Tacos Flavorful and Easy Meal
Spicy Buffalo Chicken Dip Flavorful Game Day Snack
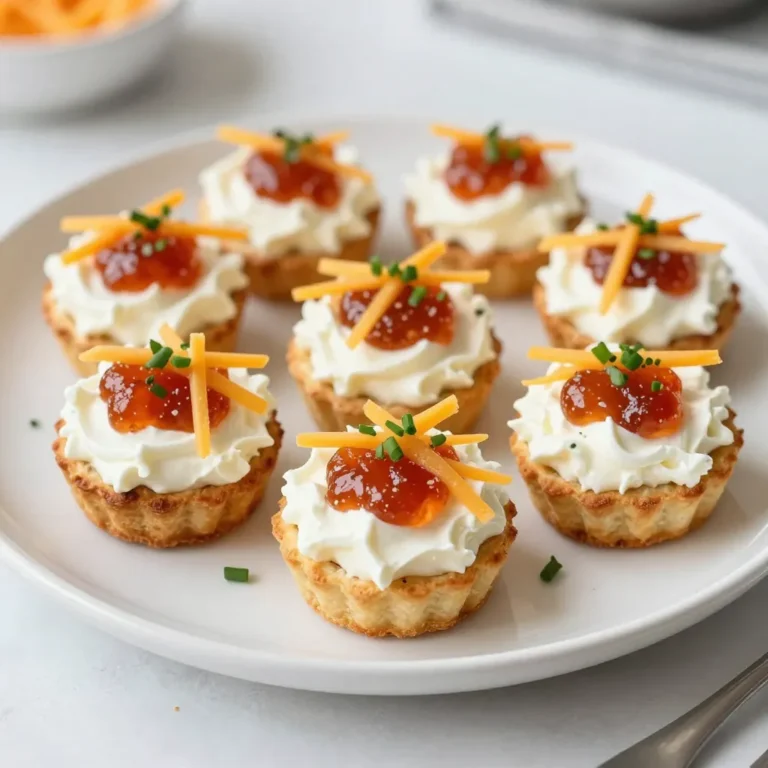
Pepper Jelly Cream Cheese Dip Bites Tasty Finger Food
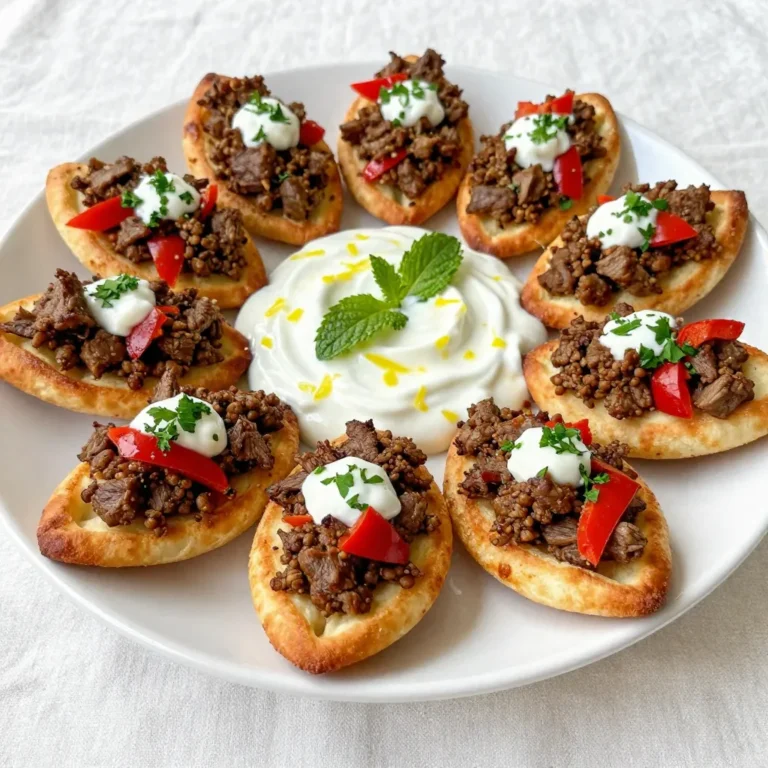
Mini Mediterranean Lahmacun Bites with Tangy Yogurt
Pepperoni Mozzarella Croissant Rolls Tasty Snack Idea
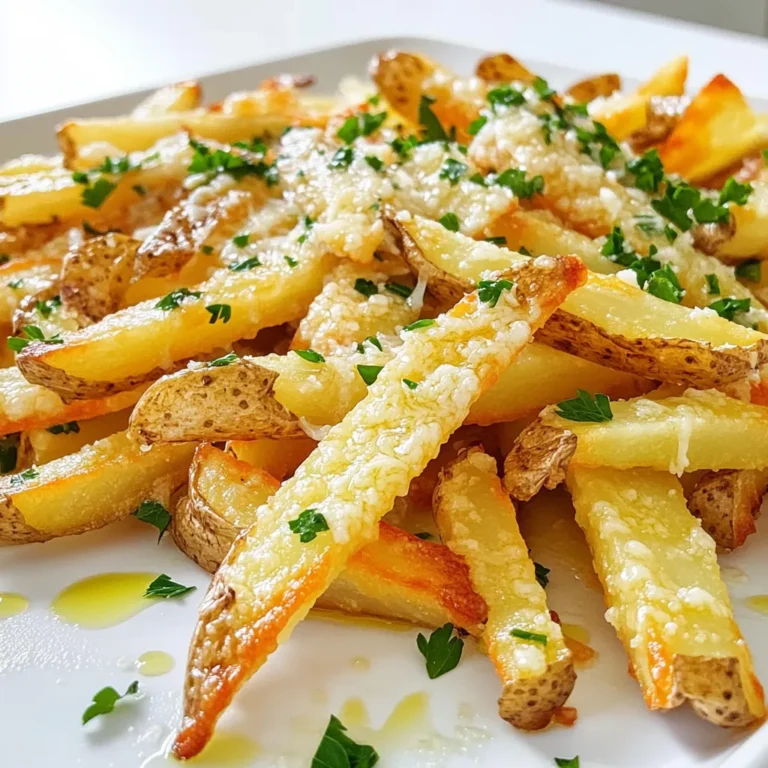
Garlic Parmesan French Fries Crispy and Flavorful Snack
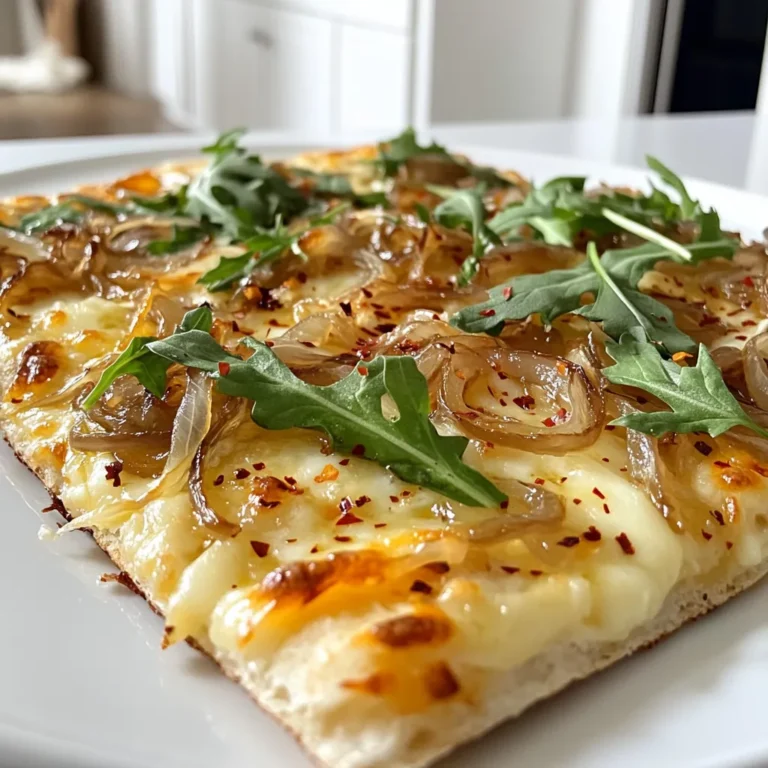
Caramelized Onion Gruyère Flatbread Simple Delight
Page navigation
1
2
3
…
16
Next Page
Next
Home
Dinner
Appetizer
Desserts
Drinks
About
Contact
Privacy Policy
Toggle Menu Close
Search for:
Search