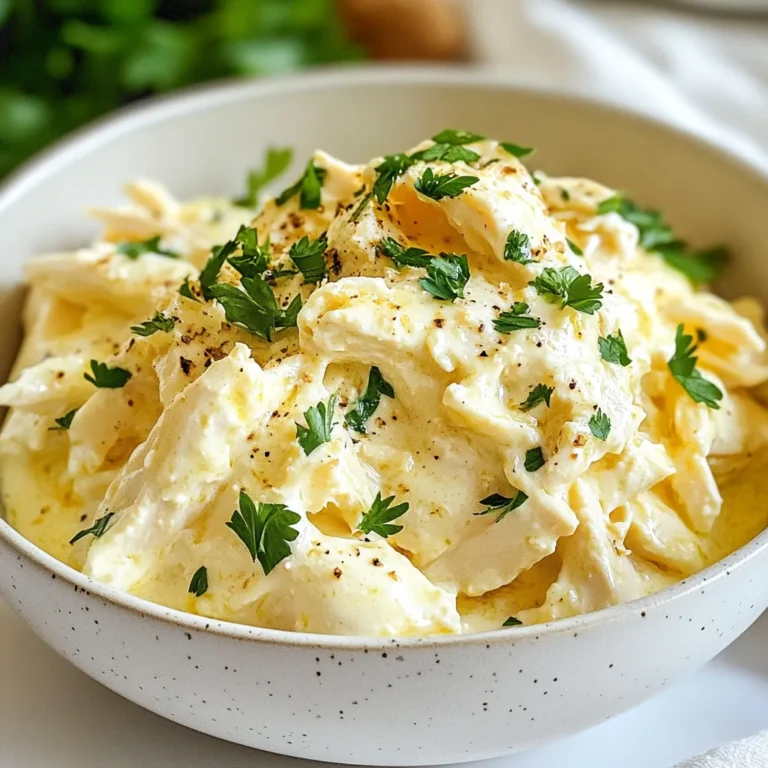
Creamy Garlic Tuscan Chicken Flavorful Dinner Delight


If you’re craving a meal that bursts with flavor, look no further than Creamy Garlic Tuscan Chicken. This dish combines tender chicken breasts, fresh garlic, and vibrant veggies for a perfect weeknight dinner. With creamy sauce and a hint of Italian seasoning, it’s an easy recipe that’s hard to resist. Join me as we dive into this delightful dish that will impress your family and please your taste buds!
Why I Love This Recipe
- Quick and Easy: This recipe comes together in just 30 minutes, making it perfect for busy weeknights or last-minute dinner parties.
- Rich and Creamy Flavor: The combination of heavy cream and Parmesan cheese creates a luscious sauce that elevates the dish to a restaurant-quality meal.
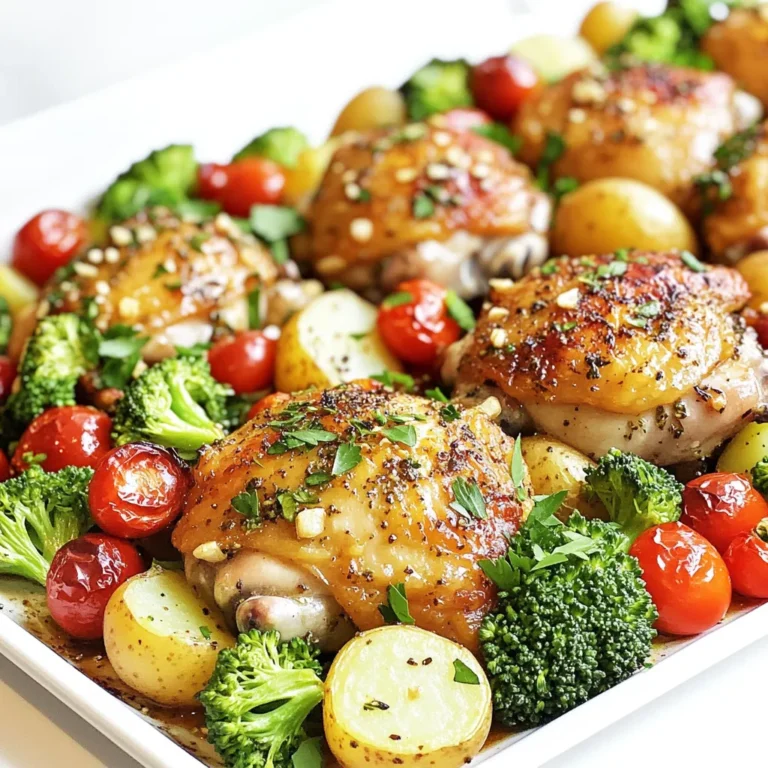
- Colorful and Nutritious: With vibrant cherry tomatoes and fresh spinach, this dish is not only visually appealing but also packed with vitamins and nutrients.
- Versatile Pairing: Serve it with crusty bread or over pasta for a delightful meal that suits any occasion and pleases a crowd.
Ingredients
Main Ingredients List
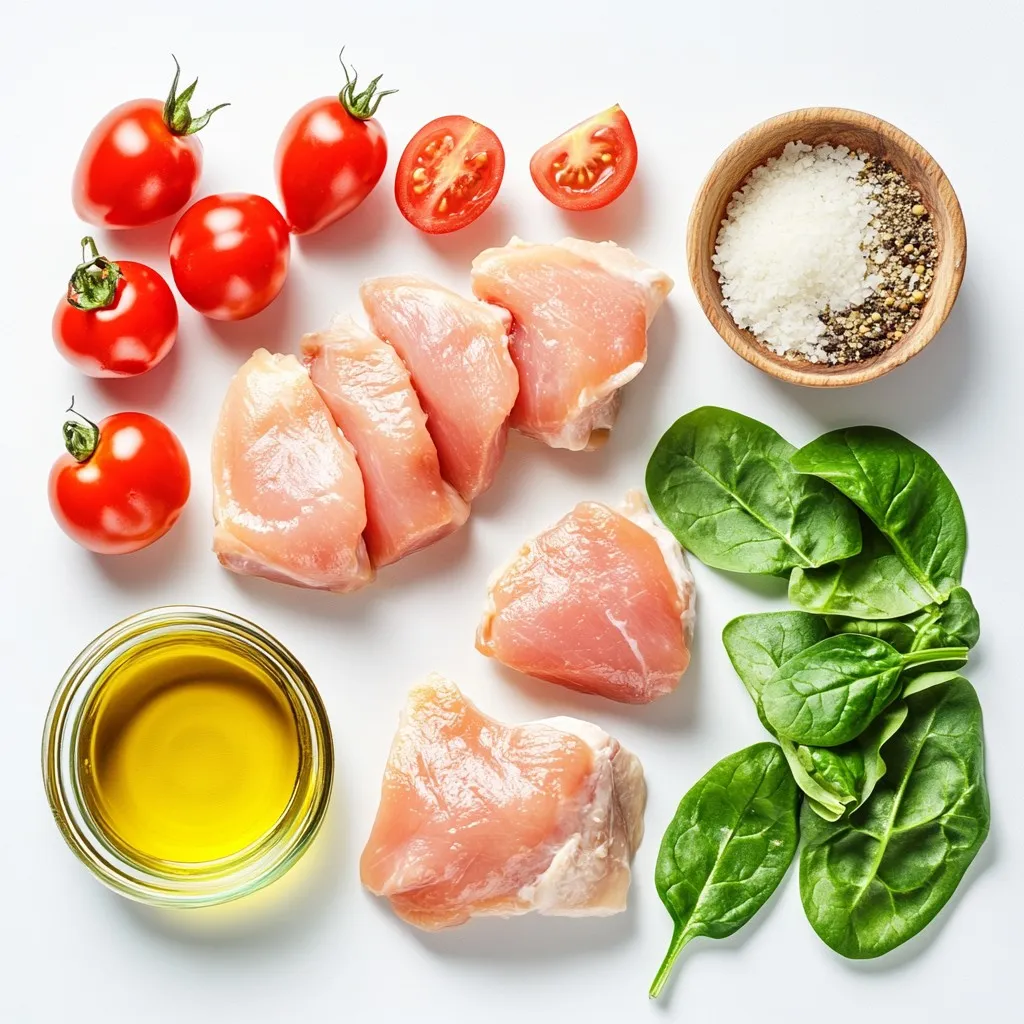
– 4 boneless, skinless chicken breasts
– 1 tablespoon high-quality olive oil
– 4 cloves fresh garlic, finely minced
– 1 cup vibrant cherry tomatoes, halved
– 1 cup fresh baby spinach leaves
– 1 cup rich heavy cream
– 1/2 cup finely grated Parmesan cheese
Seasoning and Garnish
– 1 teaspoon aromatic Italian seasoning blend
– Salt and freshly cracked black pepper, to taste
– Fresh basil leaves for garnish (optional)
Gathering fresh ingredients makes this dish shine. I love using boneless, skinless chicken breasts. They cook evenly and stay juicy. High-quality olive oil adds richness to the dish. Fresh garlic gives a strong, lovely flavor. Cherry tomatoes bring sweetness and color.
Spinach adds great nutrition and a pop of green. Heavy cream makes the sauce creamy and smooth. Grated Parmesan cheese gives a salty, nutty taste.
For seasoning, I use an Italian blend. It adds depth without being overpowering. Salt and pepper enhance all the flavors. Fresh basil makes everything look bright and fresh. You can skip it, but I think it adds a nice touch.
When you have these ingredients ready, you can start cooking. Don’t forget to check for freshness. This step ensures your meal is tasty and healthy.
Step-by-Step Instructions
Cooking the Chicken
1. Preparing the skillet: Start with a large skillet. Heat 1 tablespoon of olive oil over medium-high heat. You want it hot enough to cook the chicken well.
2. Seasoning and cooking the chicken breasts: Take 4 boneless, skinless chicken breasts. Generously sprinkle salt and black pepper on both sides. Place the chicken in the hot skillet. Cook for 5-7 minutes on each side. Look for a nice golden-brown crust. Make sure the chicken is cooked through. Once done, remove the chicken and set it aside on a plate.
Creating the Flavor Base
1. Sautéing garlic: In the same skillet, lower the heat a bit. Add 4 cloves of finely minced garlic. Sauté for about 30 seconds. Stir often to avoid burning the garlic. You want it fragrant, not bitter.
2. Adding tomatoes and Italian seasoning: Toss in 1 cup of halved cherry tomatoes. Add 1 teaspoon of Italian seasoning. Cook for 3-5 minutes. Stir occasionally until the tomatoes soften and release their juices. This forms a great flavor base.
Combining Ingredients
1. Incorporating spinach: Add 1 cup of fresh baby spinach to the skillet. Cook for 1-2 minutes. Stir until the spinach wilts and becomes tender.
2. Making the creamy sauce: Lower the heat to a simmer. Pour in 1 cup of heavy cream. Sprinkle in 1/2 cup of grated Parmesan cheese. Stir continuously until the cheese melts. This creates a creamy sauce that is rich and flavorful.
3. Final heating and seasoning adjustments: Return the cooked chicken to the skillet. Nestle the chicken in the creamy sauce. Let it simmer for 2-3 minutes. This reheats the chicken and allows it to absorb the sauce’s flavor. Taste the sauce and adjust with more salt and pepper if needed.
Tips & Tricks
Cooking Techniques
– Best way to achieve a golden crust: Start with a hot skillet. Heat your olive oil over medium-high heat. Add the seasoned chicken breasts. Cook for 5-7 minutes on each side. This gets that lovely golden crust. Avoid moving the chicken too much while it cooks. Let it sit and brown nicely.
– How to sauté garlic without burning: Reduce the heat to medium after removing the chicken. Add minced garlic to the same skillet. Stir it often for about 30 seconds. Watch closely, as garlic burns quickly. You want it fragrant, not brown.
Cream Sauce Tips
– Ensuring the sauce is creamy and well-blended: After adding heavy cream, lower the heat. Stir the mixture constantly. This keeps the cream smooth and helps the Parmesan melt evenly.
– Adjusting thickness of the sauce: If your sauce is too thick, add a splash of chicken broth or more cream. For a thicker sauce, let it simmer a bit longer. This allows it to reduce and thicken.
Garnishing Ideas
– Presentation tips: Serve the chicken on a nice plate. Pour the creamy sauce over the top. Add sautéed vegetables on the side. For a pop of color, sprinkle some extra Parmesan cheese.
– Additional toppings for flavor enhancement: Fresh basil adds a bright touch. You can also sprinkle crushed red pepper for a bit of heat. Consider adding toasted pine nuts for crunch and flavor.
Pro Tips
- Use Fresh Ingredients: Opt for fresh garlic, spinach, and cherry tomatoes for the best flavor. Fresh ingredients can elevate the dish and enhance its overall appeal.
- Control the Heat: When sautéing garlic, keep the heat at medium-low to prevent burning. Burnt garlic can impart a bitter taste to your dish.
- Adjust Creaminess: For a lighter sauce, substitute half of the heavy cream with chicken broth. This will still provide richness without being overly heavy.
- Perfect Pairings: Serve the creamy Tuscan chicken with a side of garlic bread or over pasta for a complete meal. The sauce is perfect for soaking up flavors!

Variations
Ingredient Swaps
You can swap chicken for shrimp or tofu. Shrimp cooks fast and adds a sweet taste. Tofu is great for a plant-based meal. Both options work well in this creamy sauce.
For a dairy-free version, try using coconut cream or cashew cream. These options create a rich texture without the dairy. You still get that creamy feel in each bite.
Flavor Enhancements
Add more herbs or spices to boost flavor. Fresh thyme or oregano can enhance the dish. You can also use smoked paprika for a deeper taste. These additions can make your meal pop.
If you like heat, sprinkle in some red pepper flakes. This small change adds a nice kick. Just a pinch can make a big difference in flavor.
Serving Suggestions
Pair this dish with side items to complete your meal. Crusty bread is perfect for dipping into the creamy sauce. A fresh salad adds a crisp contrast.
You can serve it over pasta like fettuccine or orzo. Quinoa or rice also works well. These options soak up the sauce and bring all the flavors together.
Storage Info
Refrigeration Guidelines
Store your Creamy Garlic Tuscan Chicken in an airtight container. This keeps it fresh. Place the leftover chicken in the fridge. It will last for about three days. Make sure it cools down before sealing it. This helps prevent moisture buildup.
Freezing Instructions
To freeze, let the chicken cool completely first. Then, cut the chicken into pieces for easy use later. Place the chicken in a freezer-safe bag or container. Squeeze out as much air as possible. Label it with the date. It can be frozen for up to three months.
Reheating Tips
When you’re ready to eat, reheat the chicken gently. Use a skillet over low heat for best results. Add a splash of cream or broth to keep it moist. Stir often to avoid burning. This keeps the flavors rich and creamy. Enjoy your meal just as you did the first time!
FAQs
Common Questions About the Recipe
Can I make Creamy Garlic Tuscan Chicken ahead of time?
Yes, you can make this dish ahead of time. Cook the chicken and sauce as directed. After cooking, let it cool. Store it in an airtight container in the fridge. When you are ready to eat, reheat it on the stove over low heat until warm.
What can I serve with this dish?
Creamy Garlic Tuscan Chicken pairs well with many sides. Consider serving it over pasta, like fettuccine. Crusty bread makes a great dipper for the creamy sauce. You can also add a fresh salad or steamed veggies to round out your meal.
Dietary Adjustments
Is it possible to make this recipe gluten-free?
Yes, you can make this dish gluten-free. Ensure that you use gluten-free pasta if you opt to serve it with pasta. Check the Italian seasoning and Parmesan cheese to confirm they are gluten-free.
Can I substitute the heavy cream for a healthier alternative?
Yes, you can use alternatives like coconut milk or a blend of milk and cornstarch. These options can provide a lighter sauce while still offering a creamy texture. Adjust the cooking times accordingly to achieve the right consistency.
Cooking Tips
How long does it take to cook chicken breasts?
It generally takes about 10 to 14 minutes to cook chicken breasts. Cook them for 5-7 minutes on each side. Ensure they are no longer pink inside for safety.
What is the best way to store cooked chicken?
Store cooked chicken in an airtight container in the fridge. It will last for 3 to 4 days. For longer storage, freeze it in a freezer-safe bag. Just make sure to label it with the date.
The Creamy Garlic Tuscan Chicken recipe combines simple ingredients for a delicious meal. You learned about each component, from cooking the chicken to making a creamy sauce. I shared tips for perfecting techniques and variations to spice things up.
Consider trying different proteins or sides to match your taste. This dish is not just a meal; it’s a chance to impress others with your cooking. Your kitchen can be a place of joy and creativity. Enjoy every bite, and happy cookin

Creamy Garlic Tuscan Chicken Delight
Ingredients
- 4 pieces boneless, skinless chicken breasts
- 1 tablespoon high-quality olive oil
- 4 cloves fresh garlic, finely minced
- 1 cup vibrant cherry tomatoes, halved
- 1 cup fresh baby spinach leaves
- 1 cup rich heavy cream
- 0.5 cup finely grated Parmesan cheese
- 1 teaspoon aromatic Italian seasoning blend
- to taste salt and freshly cracked black pepper
- optional fresh basil leaves for garnish
Instructions
- In a large, heavy-bottomed skillet, heat the olive oil over medium-high heat. Season both sides of the chicken breasts with salt and pepper. Add the chicken to the hot skillet and cook for about 5-7 minutes on each side until golden brown and cooked through. Remove from skillet and keep warm.
- In the same skillet, reduce heat slightly and add the minced garlic. Sauté for about 30 seconds until fragrant, being careful not to burn it.
- Add the halved cherry tomatoes and Italian seasoning. Cook for about 3-5 minutes, stirring occasionally, until the tomatoes soften and release their juices.
- Add the fresh spinach leaves and cook for an additional 1-2 minutes until wilted. Stir well to combine.
- Lower the heat to a simmer, then pour in the heavy cream and sprinkle in the grated Parmesan cheese. Stir continuously until the cheese melts and the mixture forms a creamy sauce.
- Return the cooked chicken breasts to the skillet, nestling them in the sauce. Allow to simmer for an additional 2-3 minutes to reheat the chicken and absorb the sauce.
- Taste the sauce and adjust seasoning with more salt and pepper if desired.
- Plate the chicken breasts topped with the creamy sauce and sautéed vegetables. Garnish with fresh basil leaves if using.
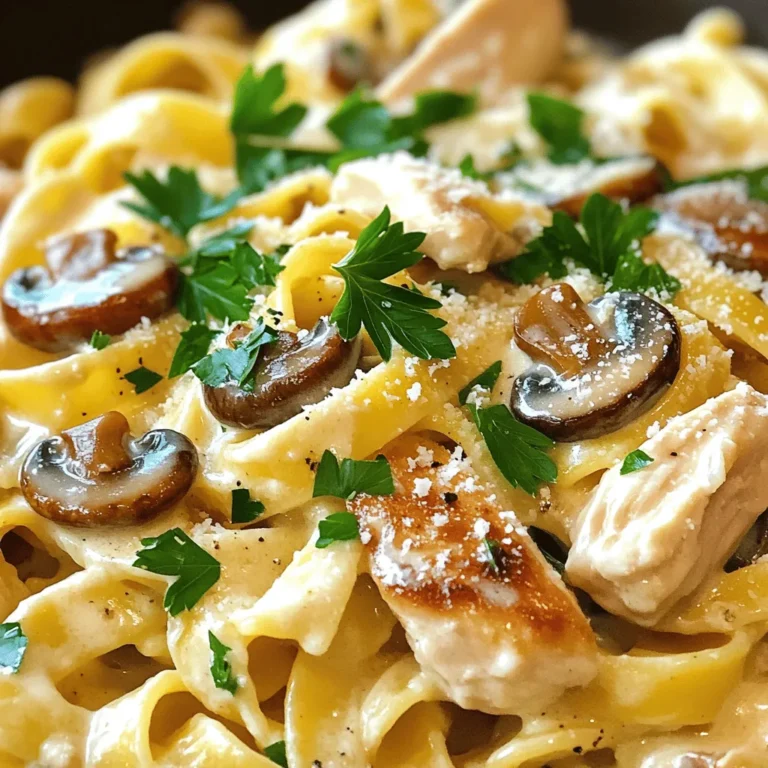
![For this dish, I recommend using ribeye steak. It has great flavor and tenderness. To slice it right, place the steak in the freezer for 30 minutes. This makes it firm and easier to cut. Always slice against the grain for the best texture. You’ll want to include onions and green bell peppers. They add sweetness and crunch. You can also add mushrooms or jalapeños for extra flavor and texture. These veggies bring life to the dish. Provolone cheese works best because it melts beautifully. You can also use Cheez Whiz for a classic touch. To get that melty texture, cover the skillet after adding the cheese. This traps the heat and helps it melt evenly. For the complete recipe, check out the [Full Recipe]. Choosing the right pan makes a big difference. I recommend using a heavy-bottom skillet or cast iron. These pans heat evenly and hold heat well. This helps to cook the meat and veggies perfectly. Before starting, heat the pan over medium-high. Wait until the pan is hot and shimmering. This ensures a good sear. Timing is key when sautéing. Start with the onions and bell peppers. Cook them for about 5-7 minutes. Stir occasionally. You want them to soften and the onions to turn clear. This shows they are ready for the next step. Then, add the minced garlic and sauté for one more minute. You’ll know it’s done when you can smell the garlic. For the steak, thin slices work best. Sear the meat in the center of the skillet. Let it cook undisturbed for 2-3 minutes. This gives it a nice brown crust. Keep an eye on your steak. You want it cooked to your liking. For medium-rare, aim for an internal temp of about 130°F. Once done, mix everything together. Don’t forget to add salt, pepper, and Worcestershire sauce for flavor. For the full recipe, check out the details to make this delicious dish! To make your Philly cheesesteak skillet even better, try adding spices. Some great choices include garlic powder, onion powder, and smoked paprika. These spices add depth and warmth to the dish. You can also add a splash of hot sauce for a kick. To elevate the flavor profile, consider using fresh herbs like thyme or oregano. They make the dish smell great and taste fresh. When cooking a one-pan dish like this, keep your pan hot. A well-heated skillet helps sear the steak and cook the veggies evenly. Avoid crowding the pan; too much food can trap steam and make things soggy. Use a large skillet to give your ingredients space. Common mistakes include not letting the steak sear enough or overcooking the vegetables. Both can change the taste and texture of your meal. There are many fun ways to serve this dish. You can spoon the cheesesteak mix into toasted hoagie rolls for a classic feel. For a different twist, try serving it over rice or pasta. This adds comfort and heartiness. Pair your meal with crispy fries or a fresh salad for crunch. When it comes to drinks, a cold soda or a light beer works well. This combination makes for a perfect comfort meal. For the full recipe, check out the instructions above. {{image_4}} You can make your Philly cheesesteak skillet lighter by choosing leaner meats. Turkey or chicken breast work well. These options cut down on fat while still keeping great flavor. If you want to boost your veggie intake, add mushrooms or zucchini. They provide nice texture and taste without many calories. You can also use whole grain hoagie rolls for more fiber. If you love heat, add jalapeños or a splash of hot sauce. These add a kick that can really enhance the dish. You can also experiment with different peppers. Try serrano or poblano for unique flavors. Each pepper brings its own twist to the classic recipe. Not a meat eater? No problem! You can use plant-based substitutes like seitan or mushrooms. These options mimic the texture and flavor of steak. For cheese, try vegan cheese or nutritional yeast. Both melt well and add that creamy touch. You can still enjoy a comforting meal while sticking to your diet. To keep your Philly Cheesesteak Skillet fresh, store leftovers in an airtight container. Make sure to cool the dish first before sealing. This helps prevent moisture buildup. For best results, eat leftovers within three days. If you want to extend shelf life, consider wrapping the skillet in plastic wrap then foil. When reheating, use the stovetop for best texture. Heat on low and stir often to avoid burning. You can also add a splash of water to keep it moist. Avoid microwaving, as it may make the dish soggy. If you must use a microwave, cover it with a damp paper towel. To freeze leftovers, let them cool completely. Place them in a freezer-safe container. Seal tightly and label with the date. For best flavor, use within two months. To thaw, move the container to the fridge overnight. Reheat on the stovetop, stirring gently for even warmth. This helps keep the meat and cheese nice and creamy. You can add heat in a few simple ways. - Jalapeños: Slice fresh jalapeños and add them with the onions and peppers. - Hot sauce: Drizzle your favorite hot sauce into the skillet while cooking. - Red pepper flakes: Sprinkle in red pepper flakes for a quick kick. Each option gives a different flavor and heat level. You can mix and match to find what you like best! Yes, you can use chicken or turkey. - Flavor: Chicken has a milder taste than ribeye. It works well with the same seasonings. - Texture: Turkey is leaner and may be drier. Ribeye has more fat, giving it a juicy bite. If you choose chicken or turkey, slice it thinly for even cooking. There are many great side dishes to pair with this skillet meal. - Fries: Crispy fries are a classic choice. - Rice: Fluffy rice makes a nice base for the cheesesteak mix. - Salad: A fresh salad can balance the rich flavors. Feel free to get creative with your sides! You can even serve the cheesesteak in toasted hoagie rolls for a fun twist. For the full recipe, check out the details above. With the right steak, fresh veggies, and melty cheese, you can create a delicious Philly Cheesesteak Skillet. Key steps include choosing your meat, sautéing vegetables perfectly, and cooking the steak to your liking. Don’t forget to try different flavors, cooking techniques, and even variations like vegetarian options. This dish is versatile for every taste. Finally, follow the best storage and reheating methods to enjoy your meal longer. Happy cooking!](https://fastmealmate.com/wp-content/uploads/2025/06/aad18596-9f8f-4d41-afd4-0dccfe0a87de-768x768.webp)