Instant Pot Beef Stew Flavorful and Hearty Recipe
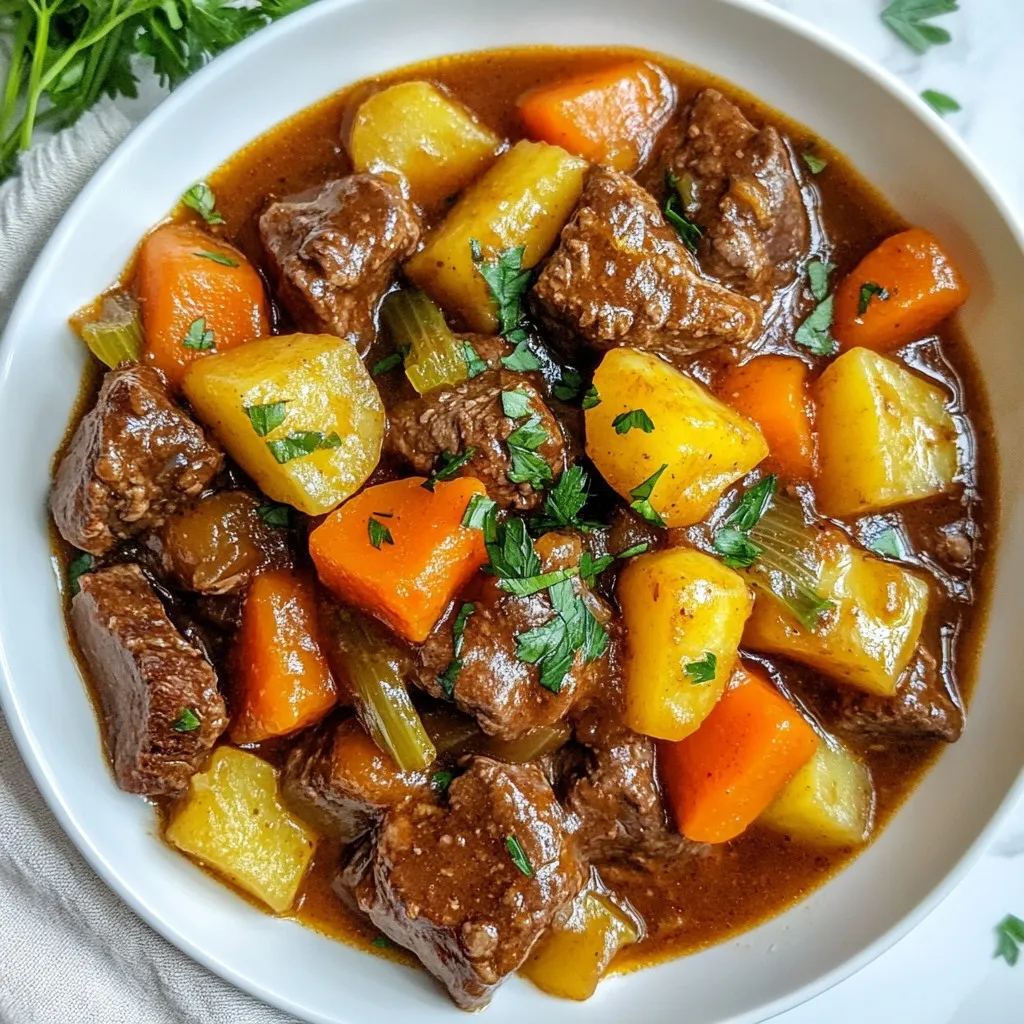
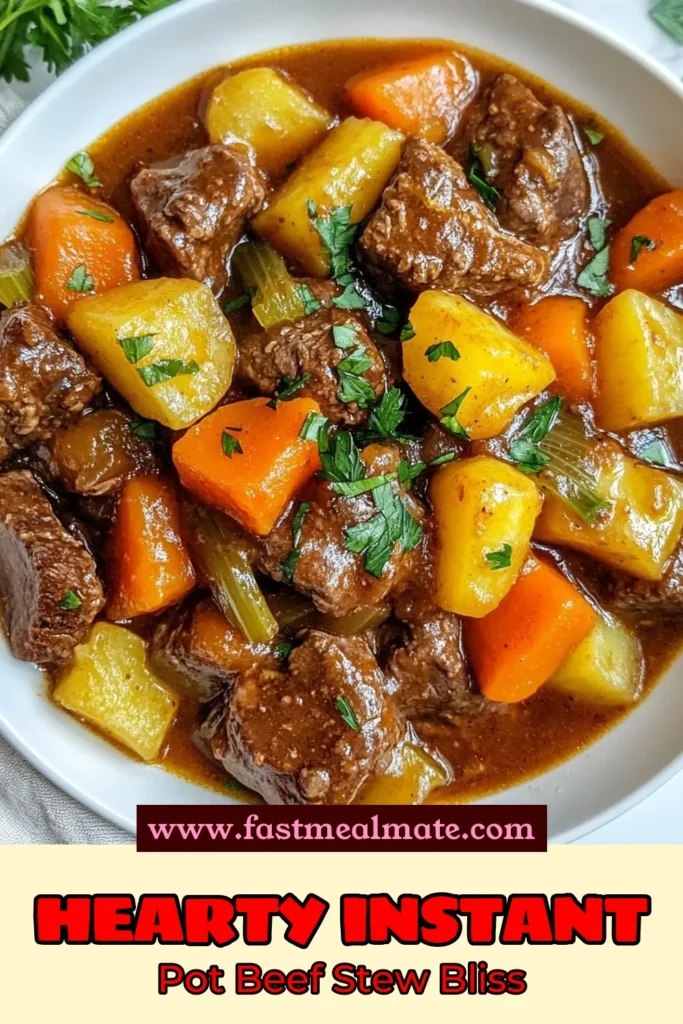
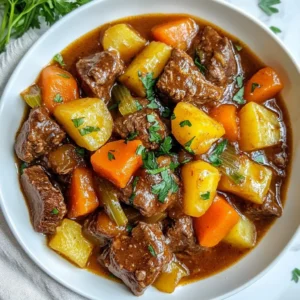
Craving a cozy, hearty meal? Let me share my Instant Pot Beef Stew recipe with you! This dish is packed with tender beef, fresh veggies, and rich flavors, making it perfect for any dinner table. In just a few simple steps, you can whip up a mouthwatering stew that warms the soul. Ready to dive in? Let’s get started on this delicious journey to comfort food bliss!
Why I Love This Recipe
- Hearty and Comforting: This beef stew is the ultimate comfort food, perfect for chilly nights or whenever you need a warm, filling meal.
- Quick Cooking: The Instant Pot significantly reduces the cooking time, allowing you to enjoy a delicious homemade stew in just over an hour.
- Flavorful Ingredients: The combination of herbs, vegetables, and tender beef creates a rich and savory flavor that will please everyone at the table.
- Customizable: You can easily adapt this recipe by adding your favorite vegetables or spices, making it a versatile dish for any preference.
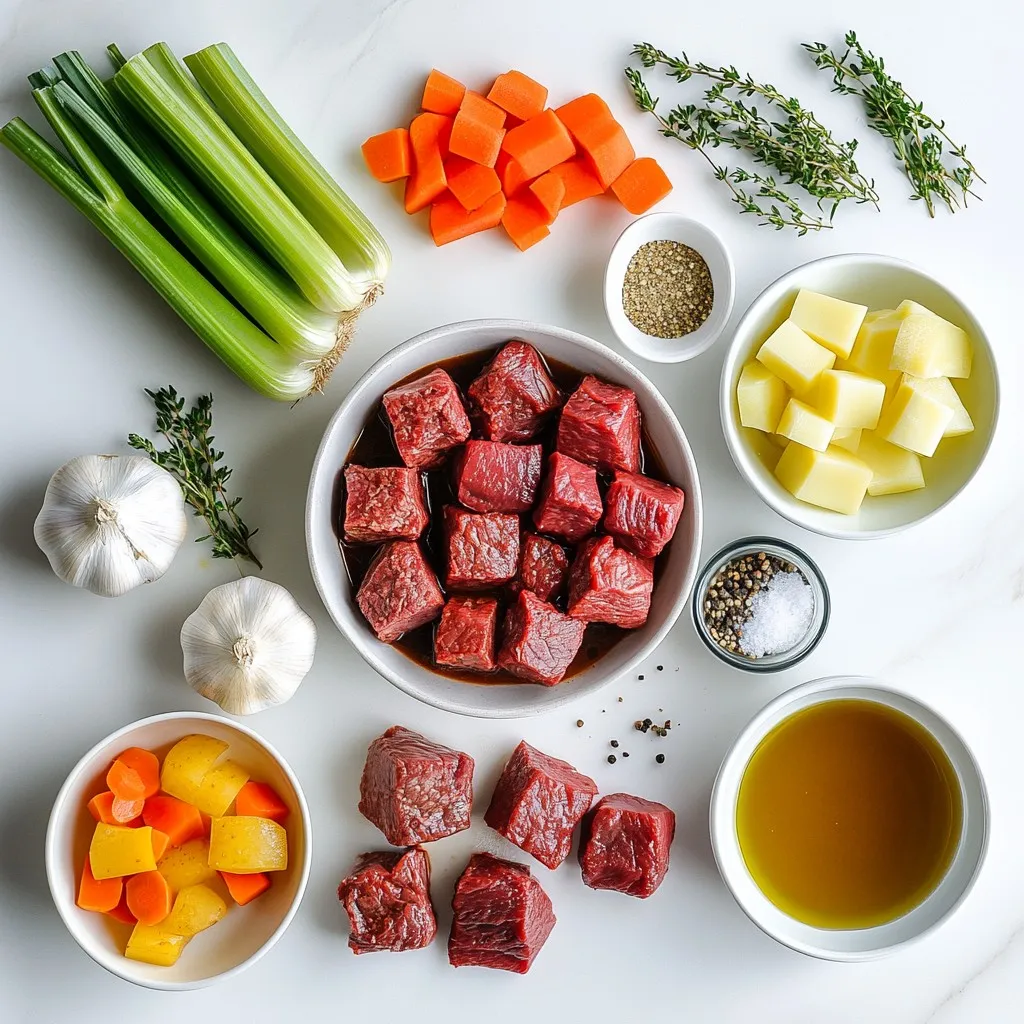
Ingredients
Main Ingredients List
– 2 lbs beef chuck, cut into 1-inch cubes
– 1 large onion, chopped
– 3 cloves garlic, minced
– 4 medium carrots, peeled and sliced into rounds
– 3 ribs celery, sliced
– 2 large potatoes, peeled and diced into 1-inch cubes
Additional Ingredients
– 4 cups beef broth
– 2 tablespoons tomato paste
– 1 teaspoon dried thyme
– 1 teaspoon dried rosemary
– 1 bay leaf
– 2 tablespoons cornstarch mixed with 2 tablespoons water
Seasoning and Garnishes
– Salt and black pepper, to taste
– 1 tablespoon olive oil
– Fresh parsley, chopped, for garnish
Gather these ingredients before you start cooking. Each item plays a role in making your stew rich and tasty. The beef adds heartiness, while the veggies bring flavor and texture. Beef broth makes it all come together. Tomato paste gives it depth. Dried herbs add warmth. Don’t forget the salt and pepper to season. Finally, fresh parsley adds a fresh touch on top.
You can find these ingredients at your local grocery store. If you want to make it your own, feel free to swap some veggies or herbs. Keep the core ingredients for the best taste!
Step-by-Step Instructions
Prepping the Beef
Start by setting your Instant Pot to the Sauté function. Add one tablespoon of olive oil and let it heat up. Once the oil shimmers, add the beef cubes in small batches. This step is key. Browning the beef helps develop deep flavors. It takes about 4-5 minutes to brown them on all sides. Once browned, take the beef out and set it aside on a plate.
Sautéing Aromatics
In the same pot, add the chopped onion. Sauté it for about 3-4 minutes until it turns translucent. This means it becomes soft and clear. Next, add the minced garlic. Cook it for one more minute. The garlic adds a wonderful aroma and flavor to your stew.
Combining Ingredients
Now, return the browned beef to the pot. Add the sliced carrots, celery, and diced potatoes. Pour in the beef broth and add the tomato paste. Sprinkle in the dried thyme and rosemary. Don’t forget the bay leaf! Season with salt and black pepper to taste. Stir everything well to mix the flavors.
Now you’re ready to cook! Close the lid of the Instant Pot and ensure the steam valve is set to Sealing. Select the Manual or Pressure Cook function and set the timer for 35 minutes. Enjoy the wait as the flavors build!
Tips & Tricks
Perfecting Your Stew
How to choose the right beef cut
Use beef chuck for the best stew. It has the right fat to keep things juicy. Look for meat that has nice marbling. This means it has fat mixed in. This fat melts during cooking, adding great taste and texture.
Importance of browning meat
Browning the beef is key to great flavor. When you brown the meat, it forms a crust. This crust adds depth to your stew. Use the Sauté function on your Instant Pot. Brown in small batches to avoid steaming. Aim for 4-5 minutes per batch.
Adjusting Flavor
Adding herbs and spices correctly
Add dried herbs like thyme and rosemary at the start. This lets their flavors mix well. Fresh herbs can be added later for a brighter taste. Taste the stew before serving. This way, you can adjust the seasonings to your liking.
Balancing seasoning for taste
Salt and black pepper are your best friends. Start with a little, then taste. You can always add more, but you can’t take it out. Remember, beef broth already has salt. So, be careful not to oversalt.
Thickening Strategies
Using cornstarch slurry effectively
To thicken your stew, use cornstarch mixed with water. This slurry works fast. Stir it into the stew and let it cook for a few minutes. This will help it reach the perfect thickness.
Alternative thickening options
If you don’t have cornstarch, try using mashed potatoes. They break down during cooking and thicken the stew. You can also blend a cup of the stew and mix it back in. This gives a nice, thick texture without extra ingredients.
Pro Tips
- Choose the Right Cut: Using beef chuck provides the best flavor and tenderness for stews, as it becomes tender during the long cooking process.
- Layering Flavors: Sautéing the onions and garlic before adding the other ingredients helps to develop a deeper flavor in the stew.
- Don’t Skip the Bay Leaf: Adding a bay leaf enhances the overall flavor profile of the stew; just remember to remove it before serving!
- Thickening Tips: For a richer stew, allow it to simmer longer after adding the cornstarch slurry until the desired thickness is achieved.
Variations
Ingredient Swaps
You can change up the meat in your beef stew. Try using chicken instead of beef. Chicken cooks faster, so you need to adjust the time. You can also add more veggies. Peas and mushrooms work great. They add color and flavor to the mix. You can even toss in some bell peppers for a sweet crunch.
Flavor Enhancements
Want to make your stew richer? Add a splash of red wine. It gives the stew a deep taste. You can also switch up the herbs. Instead of thyme and rosemary, try using oregano or basil. Each herb brings a new twist to the flavor. Experiment with different combinations to find your favorite.
Dietary Modifications
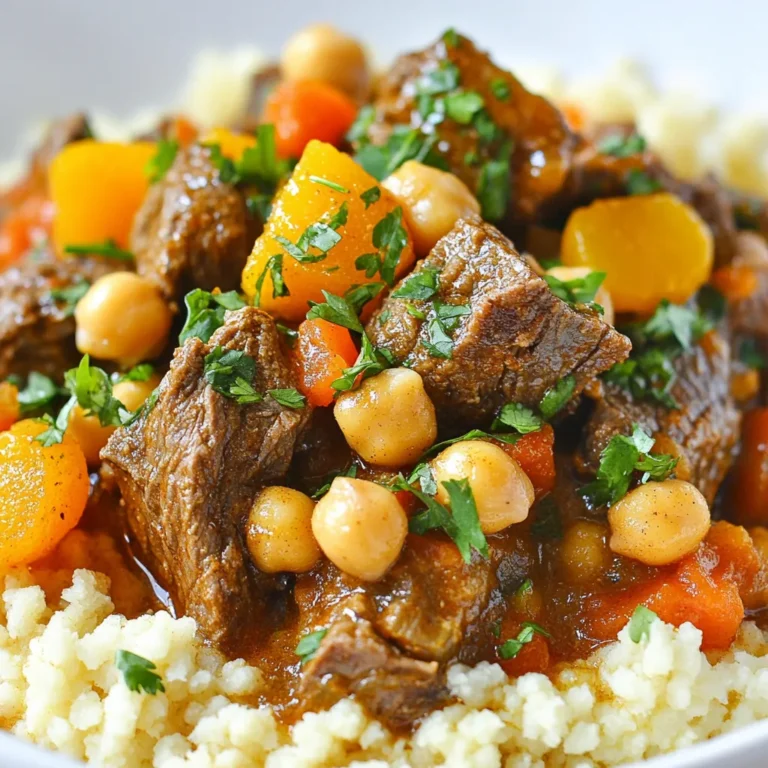
If you’re looking for gluten-free options, use gluten-free broth. For low-carb diets, skip the potatoes. Add more carrots and celery instead. If you want a vegetarian version, swap the beef for a mix of hearty vegetables. You can use lentils or chickpeas for protein. This way, everyone can enjoy a warm bowl of stew.
Storage Info
Leftover Storage
When you have leftover beef stew, store it in an airtight container. This keeps the stew fresh. You can reheat it on the stove or in the microwave. Heat it until it’s hot all the way through. Beef stew lasts up to four days in the fridge.
Freezing Instructions
You can freeze beef stew for later. Divide it into portions and place them in freezer-safe bags. Remove as much air as possible before sealing. When you’re ready to eat, thaw it overnight in the fridge. Reheat the stew gently on the stove. This method helps keep the taste and texture nice.
Meal Prep Tips
Make a big batch of beef stew for easy meals later. Portion it out into containers. This way, you can grab a meal when you need it. Label each container with the date. This helps you use it before it goes bad. Having stew ready makes weeknight dinners simple and quick.
FAQs
How long does it take to cook beef stew in an Instant Pot?
Cooking beef stew in an Instant Pot takes about 35 minutes on high pressure. After that, you should let it sit for about 10 minutes to release steam naturally. This method helps keep the meat tender and juicy. After the natural release, switch to quick release for any remaining steam. In total, you should plan for around 1 hour and 10 minutes, which includes prep time.
Can I add frozen beef to the Instant Pot?
Yes, you can cook frozen beef in the Instant Pot. However, it will take longer to reach pressure. I recommend cutting the beef into smaller pieces. This helps it cook evenly. Add an extra 5 to 10 minutes to the cooking time. Just remember that the overall flavor may not be as rich since browning adds depth.
What can I serve with Instant Pot beef stew?
There are many great sides to serve with beef stew. Here are a few ideas:
– Crusty bread: Perfect for dipping into the stew.
– Mashed potatoes: Adds creaminess to your meal.
– Green salad: A fresh side balances the hearty stew.
– Rice or quinoa: Works well for soaking up the stew’s flavors.
Choose any of these sides to elevate your meal and enjoy!
Beef stew is a hearty meal, perfect for any night. We covered key ingredients like beef chuck, veggies, and seasonings. I shared steps to prep the beef and sauté your aromatics. You also learned tips to adjust flavor and store leftovers properly. Don’t shy away from variations or swaps for a unique twist. Cooking is fun; make your stew truly yours! Enjoy your cooking, and savor every bit
Savory Instant Pot Beef Stew
Ingredients
- 2 lbs beef chuck, cut into 1-inch cubes
- 1 tablespoon olive oil
- 1 large onion, chopped
- 3 cloves garlic, minced
- 4 medium carrots, peeled and sliced into rounds
- 3 ribs celery, sliced
- 2 large potatoes, peeled and diced into 1-inch cubes
- 4 cups beef broth
- 2 tablespoons tomato paste
- 1 teaspoon dried thyme
- 1 teaspoon dried rosemary
- 1 leaf bay leaf
- to taste salt and black pepper
- 2 tablespoons cornstarch mixed with 2 tablespoons water (for thickening)
- for garnish fresh parsley, chopped
Instructions
- Begin by setting your Instant Pot to the Sauté function and adding the olive oil. Allow the oil to heat up until shimmering, then add the beef cubes in small batches. Brown the cubes evenly on all sides, which should take about 4-5 minutes. Once browned, remove the beef from the pot and set it aside on a plate.
- In the same pot, add the chopped onion and sauté for 3-4 minutes or until it turns translucent. Stir in the minced garlic and continue cooking for another minute until fragrant.
- Return the browned beef back to the pot. Next, add the sliced carrots, celery, and diced potatoes. Carefully pour in the beef broth, followed by the tomato paste, dried thyme, dried rosemary, bay leaf, and season with salt and pepper. Stir everything together to ensure an even mix of ingredients.
- Close the lid of the Instant Pot, making sure the steam valve is set to Sealing. Select the Manual or Pressure Cook function and set the timer for 35 minutes on high pressure.
- After the cooking cycle completes, allow a natural pressure release for about 10 minutes. Then, switch the valve to Quick Release to release any remaining steam.
- Once it’s safe to open, carefully lift the lid and discard the bay leaf. To thicken the stew, stir in the cornstarch slurry. Set the Instant Pot back to the Sauté mode and cook for a few additional minutes, stirring regularly, until the stew reaches your desired thickness.
- Taste the stew and adjust the seasoning with more salt and pepper if needed, mixing well after each addition.
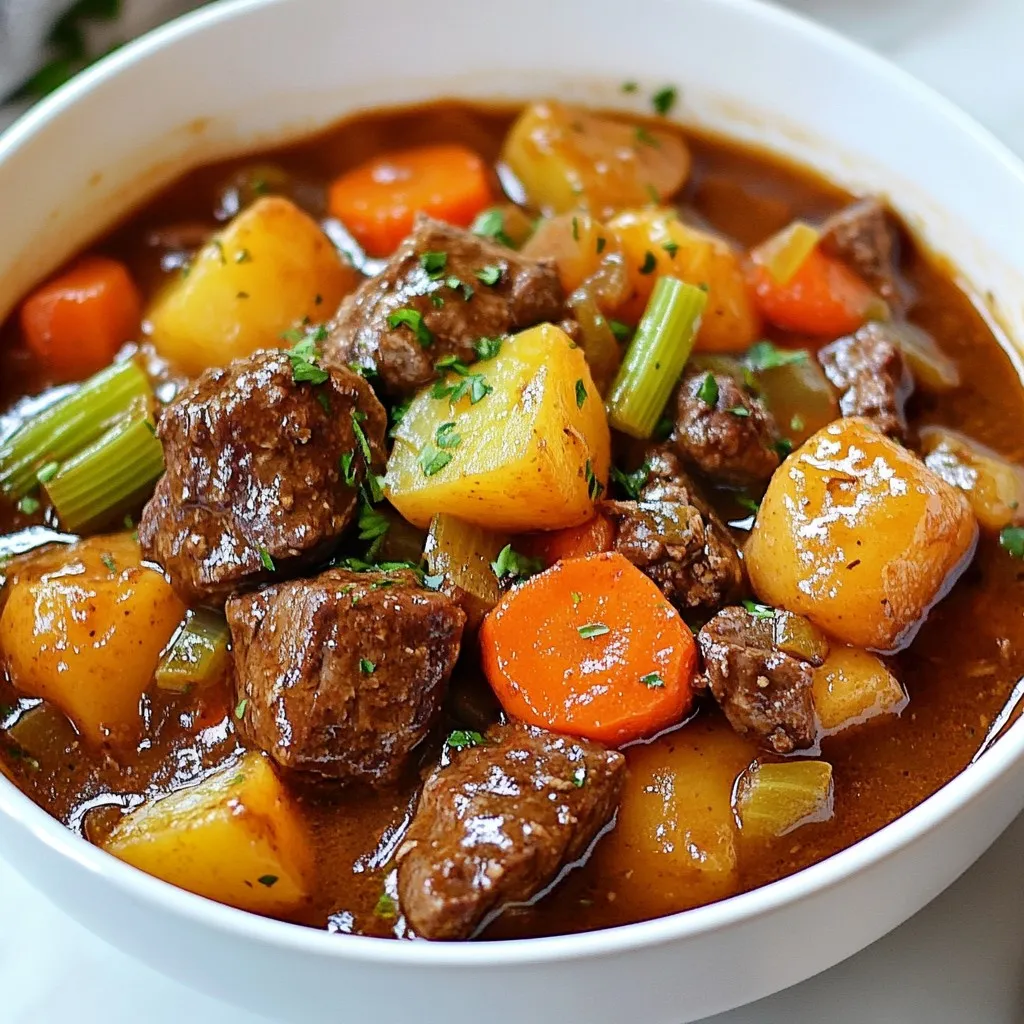
- Serve the steaming beef stew hot in bowls, garnished with a sprinkle of chopped fresh parsley for a burst of color and flavor.


![- Cheese tortellini - Flank steak - Provolone cheese The main stars of Cheesesteak Tortellini Bliss are cheese tortellini, flank steak, and provolone cheese. The cheese tortellini adds a rich, creamy texture. Flank steak gives a hearty, meaty flavor. Provolone cheese melts beautifully, making everything delightfully gooey. - Green bell pepper - Onion - Garlic Next, we have the veggies. The green bell pepper adds a nice crunch and sweetness. Onions bring out a savory note when sautéed. Garlic adds a burst of flavor that elevates the dish. Together, they create a great base for our cheesesteak twist. - Beef broth - Worcestershire sauce - Olive oil Now, let’s talk about the liquids. Beef broth adds depth and richness to the sauce. Worcestershire sauce brings umami and a hint of tang. Olive oil helps to sear the steak and sauté the veggies, making everything come together nicely. For the full recipe, check the [Full Recipe]. To start, fill a large pot with water. Add a generous pinch of salt. Bring the water to a rolling boil. Once it boils, gently add the cheese tortellini. Cook according to the package instructions, usually about 3-5 minutes. You want the tortellini to be al dente, not too soft. After cooking, drain the tortellini in a colander. Keep it warm by covering it with a kitchen towel while you prepare the rest. Next, heat a large skillet over medium-high heat. Add one tablespoon of olive oil to the hot skillet. Season the thinly sliced flank steak with salt and pepper. Make sure to coat all sides. Carefully place the steak slices in the skillet. Avoid overcrowding the pan, as this will steam the meat. Sear for about 3-4 minutes on each side. You want a golden-brown crust to form. Once cooked, remove the steak from the skillet and place it on a plate. Cover it loosely with foil to keep it warm. In the same skillet, add the sliced green bell pepper and onion. Don’t clean the skillet; this adds flavor. Sauté the vegetables over medium heat for about 5 minutes. You want them to soften and start to caramelize. Stir occasionally to prevent burning. Once they are soft, add the minced garlic. Cook for another minute, just until fragrant. Be careful not to let the garlic burn, as it can turn bitter. Now, you are ready to move on to combining all the tasty elements! For the complete recipe, check out the Full Recipe. To get the best flavor from your steak, sear it well. Here are my tips: - Heat your skillet: Use a large skillet and heat it to medium-high. This helps create a great crust on the steak. - Don’t overcrowd: Place only a few slices in the pan at once. This keeps the heat high and allows each piece to sear nicely. - Check doneness: For a medium-rare steak, aim for a temperature of 130-135°F. Use a meat thermometer for accuracy. Understanding how you like your steak cooked is key. Here’s a quick guide: - Rare: 120-125°F - Medium-rare: 130-135°F - Medium: 140-145°F - Medium-well: 150-155°F - Well-done: 160°F and above Want to take your cheesesteak tortellini to the next level? Try these flavor tips: - Add spices: A pinch of smoked paprika or crushed red pepper can give it a nice kick. - Experiment with herbs: Fresh thyme or oregano adds a lovely aroma. - Pair with sides: Serve with a fresh salad or garlic bread for a complete meal. The crunch balances the creamy tortellini. Cooking can have its hiccups. Here’s how to avoid common problems: - Overcooked tortellini: Keep an eye on the cooking time. Drain them as soon as they are al dente. This usually takes about 3-5 minutes. - Clumpy cheese: If your cheese gets clumpy, add a splash of milk or broth. This helps it melt evenly. For the full recipe of Cheesesteak Tortellini Bliss, check out the details shared above! {{image_4}} You can change this recipe with different proteins. If you want a lighter option, use chicken or turkey. Ground beef also works well in this dish. For a vegetarian twist, try mushrooms or tofu. These swaps keep the flavor rich and satisfying. Cheese is another area for creativity. Provolone is classic, but you can try cheddar for a sharper taste. Gouda adds a smoky feel, while mozzarella gives a creamy texture. Mix and match to find your favorite combo. Need gluten-free options? You can find gluten-free tortellini at many stores. Just check the package to ensure it fits your needs. Use cornstarch or arrowroot instead of regular flour to thicken the sauce. Dairy-free? Swap provolone for vegan cheese. There are many tasty brands that melt well. You can also use nutritional yeast for a cheesy flavor without the dairy. Want to switch up the presentation? Turn this dish into a baked delight. Transfer everything to a baking dish. Top it with more cheese and bake until golden and bubbly. This makes for a cozy meal perfect for sharing. Looking for a lighter option? Serve the cheesesteak tortellini as a salad. Toss it with greens, tomatoes, and a light dressing. This turns your dish into a fresh and vibrant meal option, perfect for warm days. For the full recipe, check the details above. After you enjoy your cheesesteak tortellini, store leftovers right away. Let the dish cool down for about 30 minutes. Avoid leaving it out longer, as this can cause bacteria to grow. Use airtight containers to keep your meal fresh. Store it in your fridge for up to three days. To freeze the cheesesteak tortellini, first, let it cool completely. Transfer it into freezer-safe containers or bags. Make sure to remove as much air as possible to avoid freezer burn. You can keep it frozen for up to three months. When you're ready to eat, thaw it overnight in the fridge. Reheat it gently on the stove over low heat, adding a splash of beef broth to keep it moist. Stir often to ensure even heating. Enjoy your delicious meal just like the first time! For the complete cooking instructions, check the Full Recipe. To cook tortellini, first, boil a large pot of water. Add salt to the water for flavor. When the water boils, add the cheese tortellini. Cook them according to the package instructions, usually around 3-5 minutes. Make sure they are al dente, which means they should be firm but cooked through. Drain the tortellini in a colander and keep them warm. This step ensures they stay soft and tasty for your dish. You can prepare Cheesesteak Tortellini Bliss ahead of time! Cook the tortellini and steak as directed, then let them cool. Store the dish in an airtight container in the fridge. When you're ready to eat, reheat it on the stove over medium heat. Add a splash of broth to keep it moist. Stir until everything is warm, and enjoy! This makes it easy for busy days. You can easily customize the flavors in this recipe! Try adding different vegetables like mushrooms or spinach for a twist. Swap the flank steak for chicken or shrimp if you want. For a spicier kick, add red pepper flakes or diced jalapeños. You can also mix in different cheeses like cheddar or mozzarella. Get creative and make this dish your own! This blog post covered a delicious recipe combining cheese tortellini and flank steak. You learned about essential ingredients, such as provolone cheese and beef broth. I shared steps for cooking beautiful tortellini and flavor-packed steak with sautéed veggies. Tips for perfecting your dish and creative variations ensured your meal stands out. In conclusion, enjoy the flexibility of this recipe. Please feel free to customize it to fit your tastes. Happy cooking!](https://fastmealmate.com/wp-content/uploads/2025/06/d6ee9c88-ae52-41f7-bd2d-f571c0560d46-768x768.webp)