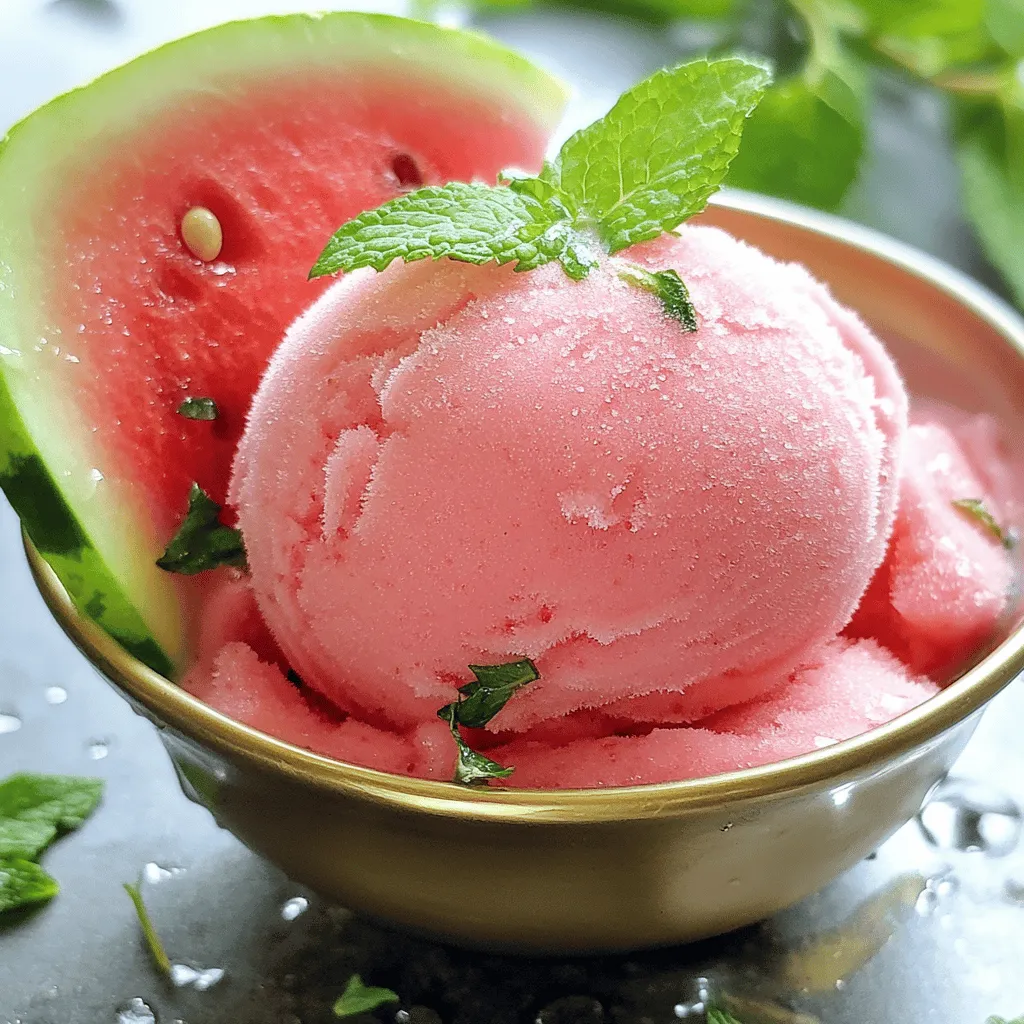
Easy Watermelon Sorbet Refreshing Summer Delight

Looking for a cool treat to beat the summer heat? I have just the thing: Easy Watermelon Sorbet! This refreshing dessert is super simple to make and requires just a few key ingredients. With ripe watermelon, a touch of honey, and a squeeze of lime, you can whip up this delightful sorbet in no time. Let’s dive into how you can create this summer favorite and impress your friends and family!
Ingredients
Key Ingredients for Easy Watermelon Sorbet
– 4 cups seedless watermelon, cut into cubes and frozen
– 1/4 cup honey or agave syrup
– 1 tablespoon freshly squeezed lime juice
– A pinch of sea salt
The main ingredient is watermelon. Choose a ripe one for the best flavor. Cut it into small cubes and freeze them. This gives the sorbet its cold and refreshing texture.
Next, add honey or agave syrup. This sweetens the sorbet. You can adjust the amount based on your taste. Lime juice adds a zesty kick. It brightens up the flavor. Finally, a pinch of sea salt enhances the sweetness. It makes all the flavors pop!
Optional Ingredients
– Fresh mint for garnish
– Additional fruits for blending
Fresh mint adds a nice touch. It gives the sorbet a cool flavor and looks great on top. You can also mix in other fruits. Berries or tropical fruits like mango work well. They create fun new flavors.Enjoy making this refreshing treat!
Step-by-Step Instructions
Preparation of Watermelon
First, I pick a ripe, seedless watermelon. Look for one that feels heavy for its size. It should have a deep color and a dull spot where it rested on the ground.
Next, I cut the watermelon into bite-sized cubes. I make sure to remove any seeds. Then, I spread the cubes on a baking sheet in a single layer. This step is key. I freeze the cubes for at least 4 hours until they are solid.
Blending the Mixture
Now, it’s time to blend. I take the frozen watermelon cubes and put them in a high-speed blender. I add 1/4 cup of honey or agave syrup, 1 tablespoon of fresh lime juice, and a pinch of sea salt.
I blend on high speed until the mixture is smooth and creamy. I often pause to scrape down the sides with a spatula. This ensures everything blends well.
Finalizing the Sorbet
After blending, I taste the sorbet. If I want it sweeter, I add more honey or agave syrup. Then, I blend it again briefly.
Next, I spoon the mixture into a shallow dish. I smooth the surface and cover it. I freeze it for 1 to 2 hours to make it firmer.
Once ready, I scoop out servings and serve them in chilled bowls or cones. I love to garnish each serving with fresh mint or a slice of watermelon.
Tips & Tricks
Achieving the Best Texture
Start with frozen watermelon. This step is key. Fully frozen cubes blend well. If the watermelon is soft, the sorbet won’t be smooth. Use a high-speed blender. This helps create a silky texture. You may need to scrape the sides while blending. This ensures all ingredients mix well.
Sweetness Adjustments
Sweetness is important in your sorbet. The natural sugar in watermelon varies. Taste your sorbet after blending. If it needs more sweetness, add more honey or agave syrup. Just blend again to mix it in. You can also try maple syrup or stevia. Each sweetener adds a unique flavor.
Serving Suggestions
Serve your watermelon sorbet in chilled bowls. This keeps it cold longer. For a fun twist, use ice cream cones. Garnish with fresh mint leaves for color. You can also add a slice of lime or watermelon on the side. These details make your dish pop! Explore different ways to serve and enjoy!
Variations
Flavor Additions
You can boost your sorbet with other fruits. Try adding berries like strawberries or blueberries. Citrus is another great choice. A splash of lemon or orange juice brightens the flavor. You can also infuse fresh herbs into the mix. Basil or mint adds a cool twist to the sweet sorbet. Just chop the herbs finely and blend them with the watermelon. This little change can bring a new life to your dessert.
Vegan Options
For a vegan twist, use alternative sweeteners. Maple syrup or agave nectar works well. You can even skip the sweeteners for a natural taste. If you want a different tang, swap lime juice for lemon or orange juice. This keeps your sorbet light and fresh. Both options are tasty and healthy, perfect for any diet.
Serving Variations
Get creative with how you serve your sorbet. You can make popsicles by pouring the mixture into molds. This is fun for kids and adults alike. Another idea is to create sorbet floats. Pour sparkling water or lemon-lime soda over a scoop of sorbet. This fizzy treat is a real crowd-pleaser. It adds a fun twist to your summer dessert.
Storage Info
Best Practices for Freezing
To store your watermelon sorbet, use airtight containers. A good option is a glass or plastic container with a tight lid. This keeps air out and preserves flavor. To avoid ice crystals, freeze it in a flat layer. This helps it freeze faster and more evenly.
Duration and Quality
Your watermelon sorbet stays fresh for about two weeks. After that, it may lose some flavor and texture. Signs of freezer burn include ice crystals on the surface and a dry texture. If you see these signs, it’s best to toss it out.
Thawing Tips
When you’re ready to serve, take the sorbet out of the freezer. Let it sit at room temperature for about 5 to 10 minutes. This softens it for easier scooping. Avoid letting it melt and then refreeze. Doing this can change the texture and make it grainy.
FAQs
Can I make watermelon sorbet without a blender?
Yes, you can make watermelon sorbet without a blender. You can use a fork to mash frozen watermelon cubes. This takes more time and effort. It also requires a lot of patience to achieve a smooth texture. If you want a creamier sorbet, a blender or food processor works best.
What can I use instead of honey in this recipe?
You can use agave syrup, maple syrup, or even sugar. Adjust the amount based on your taste. Each sweetener adds a slightly different flavor. Experiment to find what you like best!
How do I store leftover watermelon sorbet?
Store leftover sorbet in an airtight container. Make sure to press down the sorbet to remove air pockets. This helps prevent ice crystals from forming. You can keep it in the freezer for about two weeks.
How can I make my sorbet sweeter?
If you want a sweeter sorbet, add more honey or agave syrup. Blend the mixture again to mix it well. Taste it after blending to check the sweetness. Adjust until it is just right for you.
Can I add other fruits to my watermelon sorbet?
Absolutely! You can mix in berries, mango, or even citrus fruits. Just blend them with the watermelon. This adds new flavors and fun colors to your sorbet.
How long does it take to freeze the sorbet?
The sorbet needs about 1-2 hours in the freezer after blending. This helps it firm up nicely. You can freeze it longer if you prefer a firmer texture.
Can I use frozen watermelon instead of fresh?
Yes, using frozen watermelon is a great idea! It makes the sorbet cold and refreshing right away. Just make sure the watermelon is seedless and cut into cubes.
What is the best way to serve watermelon sorbet?
Serve the sorbet in chilled bowls or cones. You can garnish it with fresh mint or a slice of watermelon. This adds a nice touch and makes it look fancy!
Is watermelon sorbet healthy?
Yes, watermelon sorbet can be a healthy treat! It is low in calories and full of water. Just be careful with the sweeteners added. Enjoy it in moderation for a refreshing summer snack!
You can create a delicious watermelon sorbet with just a few simple steps. We covered the key ingredients, including frozen watermelon, honey, and lime juice. I shared tips on texture and sweetness to help you customize your mix. You also learned about fun variations and storage tips to keep your sorbet fresh.
In the end, this treat is easy to make and fun to enjoy. Try your own flavors and share it with friends. You’ll love how refreshing it is!


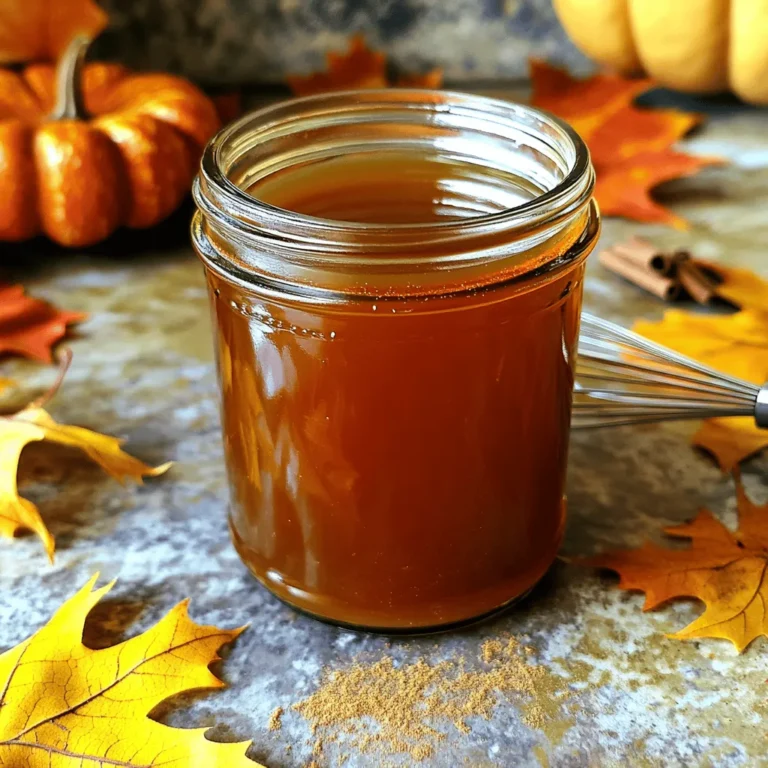
. Prepare to impress your friends and family! - In a medium saucepan, combine diced Granny Smith apples, brown sugar, ground cinnamon, ground nutmeg, and fresh lemon juice. - Cook over medium heat for 5-7 minutes. Stir occasionally until the apples are tender and caramelized. Cooking the apples is key. The sugar helps them become sweet, while the spices add warmth. The lemon juice brightens the flavor, making it pop. You want the apples to be soft but not mushy. The perfect mix will smell heavenly! - Take a large serving board and spread softened butter evenly across the surface. - Carefully layer the warm caramelized apples over the butter. The butter acts as a rich base. It helps the apples stick and adds creaminess. Make sure to cover the board well. This step sets the stage for the sweet treats to come. - Generously drizzle caramel sauce over the apples. - If you like, sprinkle chopped pecans or walnuts on top. Finish with a pinch of flaky sea salt. The caramel sauce enhances the sweetness and creates a lovely glossy finish. The nuts give a nice crunch, while the sea salt balances the flavor. This dish looks amazing and tastes even better! You can serve it with toasted crostini or crisp apple slices. Don't forget to check out the Full Recipe for more details! For this recipe, I recommend using tart apple varieties. Granny Smith apples work great. Their tartness balances the sweet caramel. Honeycrisp apples are another excellent choice. They add a nice crunch and flavor. Make sure your butter is at room temperature. Softened butter spreads easily on the board. This creates a smooth base for the apples. If the butter is too cold, it will not spread well. Feel free to experiment with spices. Add a pinch of cloves for warmth. You could also try vanilla extract for extra depth. These little tweaks can elevate the taste. Each bite can become even more delightful. {{image_4}} You can easily add a twist to your butter board. Incorporate chocolate chips. Just sprinkle them over the caramelized apples. You can also drizzle melted chocolate on top. This adds rich flavor and a fun look. Do you have nut allergies? No problem! Replace the nuts with seeds like pumpkin or sunflower seeds. If you prefer, you can skip the nuts entirely. Your butter board will still taste amazing! Feel free to switch up the flavors! Use different nut butters, like almond or cashew. You can also try flavored butter spreads. Each variation brings a new taste and experience. Keep your Caramel Apple Pie Butter Board in the refrigerator. Use an airtight container to keep it fresh. This helps to maintain the flavors and textures. For the best taste, enjoy this treat within 2-3 days. After that, the apples may lose their crispness. If you want to serve it warm, gently warm it in the microwave. Heat it in short bursts to avoid cooking the apples again. This helps to bring back the cozy, warm flavors that make this dish so special. A butter board is a fun and tasty way to serve butter. You take a large board and spread softened butter across it. Then, you add delicious toppings. It’s like a charcuterie board, but with butter! You can use sweet or savory toppings. The Caramel Apple Pie Butter Board uses caramelized apples, cinnamon, and nuts for a sweet treat. It’s perfect for sharing at parties or family gatherings. Yes, you can prep this butter board ahead! Make the caramelized apples and store them in the fridge. Just keep them in an airtight container. You can spread the butter on the board when you are ready to serve. Then, layer the apples and drizzle the caramel sauce. This way, you save time and still enjoy a fresh dish. Yes, you can make a vegan version! For the butter, use coconut oil or vegan butter. You can also make your own caramel using coconut milk and brown sugar. This way, you keep the same flavors but make it vegan-friendly. Enjoy the same delicious taste while being kind to dietary needs! This butter board recipe is simple, fun, and full of flavor. We started with caramelized apples and buttery goodness, then added our favorite toppings. You can adjust the recipe to fit your taste. Use different apples, add nuts, or go nut-free. Remember, store leftovers well to keep them fresh. This dish is perfect for sharing and can fit any diet with easy swaps. Enjoy making your own version of this tasty treat!](https://fastmealmate.com/wp-content/uploads/2025/07/ddf5207e-0125-4d49-a59c-c6b722e82f52-768x768.webp)