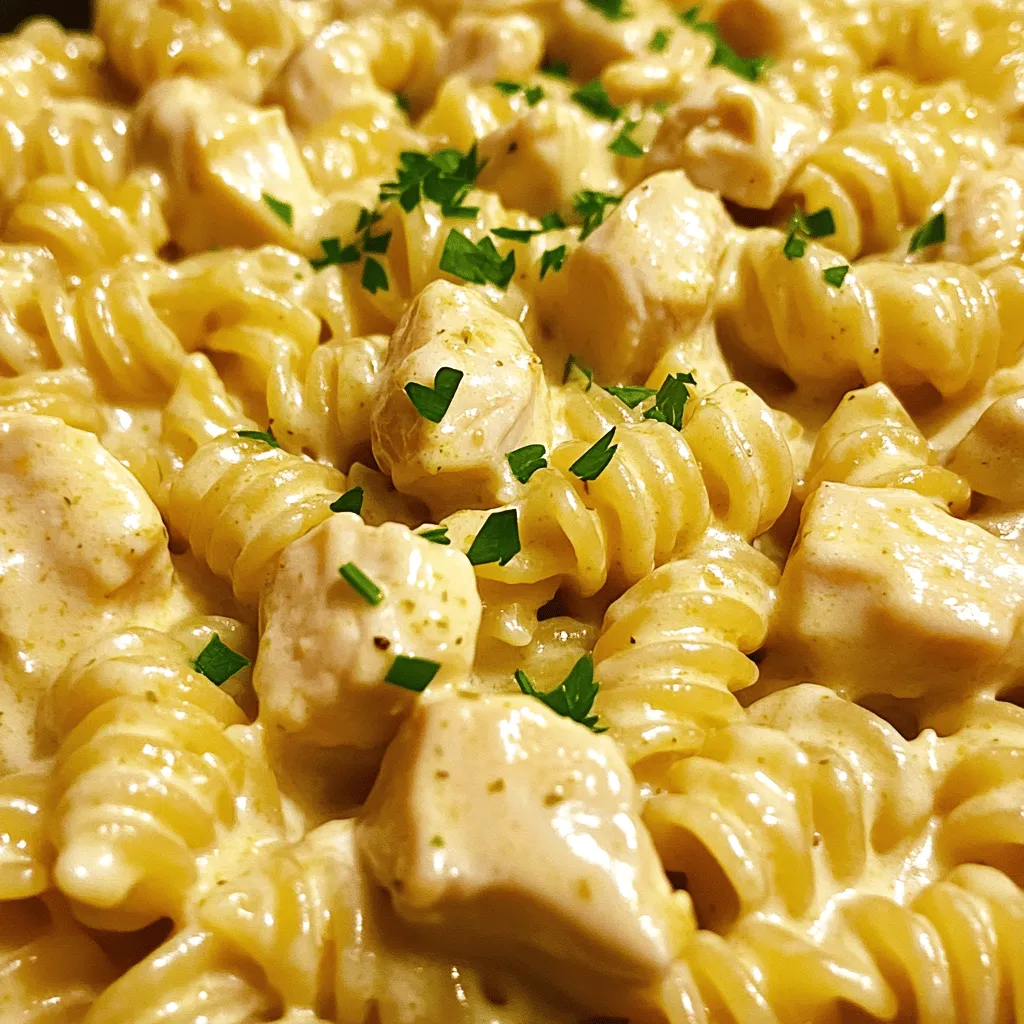
Creamy Garlic Butter Chicken Rotini Easy Family Meal

Looking for a quick and tasty dinner? Try my Creamy Garlic Butter Chicken Rotini! This dish is packed with flavor and simple to make. In just a few steps, you’ll have a creamy, comforting meal that your family will love. Whether you’re an expert chef or a beginner, I’ll guide you through each part of the process. Let’s dive in and whip up this easy family meal!
Ingredients
Required Ingredients for Creamy Garlic Butter Chicken Rotini
To make this dish, you will need the following ingredients:
– 12 oz rotini pasta
– 2 tablespoons olive oil
– 1 lb chicken breast, diced into bite-sized pieces
– 4 cloves garlic, finely minced
– 1 cup chicken broth
– 1 cup heavy cream
– 1 cup freshly grated Parmesan cheese
– 2 tablespoons unsalted butter
– 1 teaspoon Italian seasoning blend
– Salt and freshly ground black pepper to taste
– Fresh parsley, chopped (for garnish)
These simple ingredients create a rich and creamy sauce that coats the pasta perfectly.
Useful Kitchen Tools
A few tools make this recipe easier:
– Large pot for boiling pasta
– Colander for draining pasta
– Large skillet for cooking chicken and sauce
– Whisk for mixing the sauce
– Wooden spoon or spatula for stirring
Having these tools on hand will help your cooking go smoothly.
Recommended Substitutes for Ingredients
There are times when you may not have all the ingredients. Here are some good swaps:
– For rotini pasta, you can use penne or fusilli.
– If you are out of chicken broth, vegetable broth works well.
– Use half-and-half instead of heavy cream for a lighter sauce.
– Grated Pecorino Romano can replace Parmesan for a different flavor.
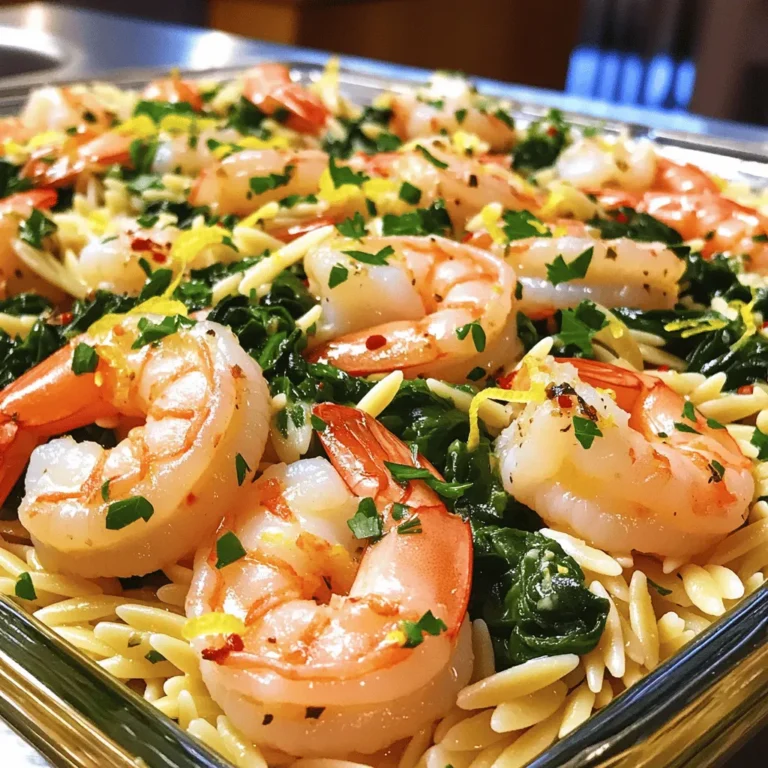
– You can swap chicken for shrimp or turkey if you prefer.
These substitutes keep the dish tasty and enjoyable.
Step-by-Step Instructions
Cooking the Pasta
Start by filling a large pot with water. Add a generous amount of salt to the water. Bring it to a rolling boil over high heat. Once boiling, add the rotini pasta. Cook it according to the package instructions, which takes about 8 to 10 minutes. The pasta should be al dente, firm but cooked. After cooking, drain the pasta in a colander. Be sure to save a small cup of the pasta water for later.
Sautéing the Chicken
Next, take a large skillet and heat the olive oil over medium-high heat. When the oil starts to shimmer, add the diced chicken breast. Season the chicken with salt, pepper, and Italian seasoning. Cook the chicken for about 6 to 8 minutes. Stir occasionally until the chicken turns golden brown and is cooked through. Once done, remove the chicken from the skillet and place it on a plate.
Preparing the Garlic Butter Sauce
In the same skillet, lower the heat to medium. Add the unsalted butter and let it melt completely. Once melted, add the finely minced garlic. Sauté the garlic while stirring for about 1 minute. You want to smell its fragrant aroma without letting it brown. After that, pour in the chicken broth and stir well to mix. Increase the heat slightly to bring it to a gentle simmer. Let it simmer for about 3 to 4 minutes, allowing the broth to reduce a bit.
Combining the Ingredients
Now, lower the heat to low again and carefully stir in the heavy cream and freshly grated Parmesan cheese. Whisk this mixture until it becomes smooth and creamy. Let the sauce simmer gently for another 2 to 3 minutes. Stir continuously to keep it from sticking. Next, return the cooked chicken to the skillet and add the drained rotini. Toss everything together gently until the pasta and chicken are well-coated with the creamy sauce. If the sauce is too thick, add a splash of the reserved pasta water until it reaches your desired consistency.
Tips & Tricks
How to Perfect the Creamy Sauce
To make the sauce creamy and rich, use fresh ingredients. Always use heavy cream and freshly grated Parmesan cheese. This choice enhances flavor and texture. When you add the cream, keep the heat low. This prevents the sauce from curdling. Stir continuously to ensure it blends well. If the sauce is too thick, add a bit of reserved pasta water. This will help you achieve the desired consistency.
Timing Tips for Cooking Pasta and Chicken
Cook the rotini pasta al dente, about 8-10 minutes. Timing is key. Start cooking the chicken while the pasta boils. This way, both will be ready at the same time. Chicken takes about 6-8 minutes to cook through. Make sure it is golden brown for the best flavor. Remove the chicken before making the sauce. This step ensures you don’t overcook it.
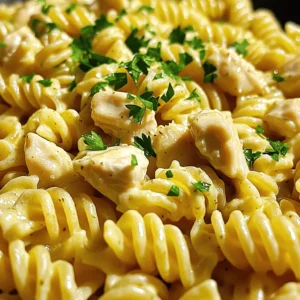
Serving Suggestions and Presentation Ideas
Serve the creamy garlic butter chicken rotini in wide, shallow bowls. This style showcases the sauce and pasta beautifully. For a fresh touch, sprinkle chopped parsley on top. You can also add extra Parmesan for a cheesy finish. A lemon wedge on the side can add a nice zing. This simple addition brightens up the dish. Enjoy this meal with family or friends for a cozy dinner!
Variations
Adding Vegetables for Extra Nutrition
You can boost the nutrition in this dish by adding vegetables. My favorites are spinach, broccoli, or bell peppers. Simply add them to the skillet with the chicken. Cook them until they are tender. This extra step adds color and flavor to your meal. Plus, it makes your dish healthier!
Herb and Spice Alternatives
Don’t be afraid to change up the herbs and spices. If you want a different flavor, try using fresh basil, thyme, or rosemary. You can also swap the Italian seasoning for some Cajun spice for a kick! These small changes can give your creamy garlic butter chicken rotini a fresh twist.
Protein Swaps: Using Shrimp or Turkey
If you want variety, you can switch the chicken for shrimp or turkey. If using shrimp, sauté it until it turns pink. For turkey, cook it until it’s no longer pink inside. These swaps can keep dinner exciting while still being easy to make. Each protein brings its own unique taste to the dish.
Storage Info
How to Store Leftovers
To keep your creamy garlic butter chicken rotini fresh, store it in an airtight container. Allow the dish to cool to room temperature before sealing it. This helps prevent condensation and keeps the pasta from becoming mushy. You can store it in the fridge for up to three days. Make sure to label the container with the date so you know how long it has been stored.
Reheating Instructions for Best Results
When it’s time to enjoy your leftovers, the best way to reheat creamy garlic butter chicken rotini is on the stove. Add a splash of chicken broth or water to a skillet over low heat. Stir gently to heat evenly and avoid sticking. If you prefer the microwave, place it in a microwave-safe bowl. Cover it with a damp paper towel to keep moisture in. Heat in short bursts, stirring in between, until warmed through.
Freezing Tips for Creamy Garlic Butter Chicken Rotini
If you want to freeze this dish, cool it completely first. Then, portion it into freezer-safe bags or containers. Remove as much air as possible before sealing to prevent freezer burn. You can freeze it for up to three months. To reheat, thaw it in the fridge overnight and follow the reheating instructions above for the best texture. This way, you can always have a delicious meal ready to go!
FAQs
Can I make this recipe gluten-free?
Yes, you can make this dish gluten-free. Use gluten-free rotini pasta. Many brands offer great options that taste similar to regular pasta. Always check the labels to ensure they fit your needs.
How can I make the sauce lighter?
To lighten the sauce, swap heavy cream for half-and-half or whole milk. You can also use low-fat cream cheese for a creamy taste with fewer calories. Try adding more chicken broth for a thinner sauce.
What goes well with Creamy Garlic Butter Chicken Rotini?
This dish pairs well with a fresh salad or steamed vegetables. Garlic bread makes a great side too. You can serve a light dessert afterward, like fruit salad or sorbet, to balance the meal.
Can I use store-bought rotini for this recipe?
Yes, store-bought rotini works fine. Just check the cooking time on the package to ensure you cook it al dente. Homemade pasta is great but not necessary for this recipe.
What is the origin of Creamy Garlic Butter Chicken Rotini?
Creamy Garlic Butter Chicken Rotini combines Italian pasta with classic garlic butter sauce. It’s inspired by Italian cooking, where creamy sauces are popular. This dish adds a twist, making it a favorite for families everywhere.
This recipe for Creamy Garlic Butter Chicken Rotini is simple and tasty. We covered essential ingredients and kitchen tools that make cooking easier. You learned step-by-step how to cook pasta, sauté chicken, and make the sauce. Tips and tricks helped you perfect the dish. Variations let you explore new flavors and swap proteins. For storage, you now know how to keep leftovers fresh.
Remember, cooking is about enjoying flavors and sharing meals. Try this dish your way!
![- 4 medium cucumbers, sliced into rounds - 1 teaspoon sea salt - 1 teaspoon freshly ground black pepper - 1 teaspoon smoky chili powder - 1 tablespoon freshly squeezed lime juice - 1/4 cup crumbled queso fresco (or feta) - 1/4 cup fresh cilantro, finely chopped - 1 jalapeño, finely chopped (optional) - 1 tablespoon extra virgin olive oil When I make Mexican-style cucumbers, I focus on fresh, vibrant ingredients. Each item plays a key role in flavor and texture. The cucumbers are crisp and refreshing. They are the star of this dish. The sea salt enhances their natural taste. Black pepper adds a nice kick, while smoky chili powder gives it depth. Fresh lime juice brings brightness. It balances the flavors perfectly. Queso fresco adds a creamy touch, and cilantro gives a fresh burst. If you like heat, jalapeño adds a nice spicy twist. The extra virgin olive oil ties everything together, making it rich and smooth. - Mixing bowl - Cutting board and knife - Measuring spoons - Serving bowl Using the right tools makes cooking easier. A good knife helps slice cucumbers evenly. A mixing bowl is perfect for combining all the ingredients. Measuring spoons ensure you get the flavors just right. Finally, a nice serving bowl makes your dish look great at the table. You can find the full recipe for Mexican-style cucumbers to guide you through this process. - Rinse cucumbers under cold water. - Trim ends and slice into 1/4 inch rounds. Start by washing your cucumbers. Cold water helps remove dirt and any residue. After rinsing, trim off the ends. Now, slice each cucumber into rounds about 1/4 inch thick. This size gives a nice bite and ensures even seasoning. - Combine cucumber slices with salt, pepper, and chili powder. - Toss gently to coat evenly. In a big bowl, mix the cucumber slices with sea salt, black pepper, and smoky chili powder. The salt enhances the cucumber's natural flavor. The chili powder adds a great kick. Toss the cucumbers gently. You want every slice to be coated well without breaking them. - Drizzle lime juice and olive oil over the cucumbers. - Fold in queso fresco and cilantro. - Optionally add jalapeño for extra spice. - Let marinate for 10 minutes before serving. Next, drizzle fresh lime juice and olive oil over the cucumbers. This adds brightness and richness. Fold in crumbled queso fresco and chopped cilantro. If you like spice, add jalapeño. Mix everything gently so the flavors blend well. Let it sit for at least 10 minutes. This waiting time helps the cucumbers soak up all those delicious flavors. Enjoy your vibrant and tasty dish! For the full recipe, refer back here. To make your Mexican style cucumbers shine, use fresh lime juice. The juice brightens the taste and adds a zesty kick. You can also experiment with different types of peppers. If you like heat, try serrano or habanero peppers. Each pepper brings a unique taste and spice level, making your dish fun and exciting. For a stunning look, serve your cucumbers in a stylish bowl. Top them with lime wedges and fresh cilantro. This not only adds color but also enhances the flavor. You might sprinkle extra chili powder for even more appeal. This small touch can make your dish look gourmet and inviting. Use a mandoline to slice your cucumbers evenly. This tool helps create uniform rounds, making them look professional. You can also prepare your ingredients in advance. Chop everything and store them separately. This way, you can quickly assemble your dish when you're ready. These shortcuts save time and make cooking more enjoyable. For the full recipe, check out the [Full Recipe]. {{image_4}} To add heat to your dish, try these tips: - Increase the jalapeño or add serrano peppers for more spice. - Include chopped red onions for extra crunch and flavor. These changes create a perfect balance of spice and freshness. You can adjust the heat level to match your taste. The spicy version pairs well with grilled meats or tacos. For a rich, creamy twist, consider these ideas: - Add Greek yogurt or sour cream for a smooth texture. - Mix in avocado for added creaminess and nutrition. This creamy variation is great for those who enjoy a thicker dressing. It also makes the dish more filling and satisfying. Serve it with pita chips or as a dip for veggies. Want to try something sweet? Here’s how: - Incorporate diced mango or pineapple for a fruity twist. - Drizzle with honey to create a unique flavor combo. This sweet and tangy version is refreshing and fun. It's perfect for summer gatherings or as a light snack. Each bite bursts with flavor, making it a hit with kids and adults alike. For the full recipe, check out the details above. To store leftover Mexican style cucumbers, place them in an airtight container. This keeps them fresh and safe. You should eat them within 2-3 days for the best taste and crunch. Freezing cucumbers is not a good idea. The texture changes when frozen, making them watery and mushy. Instead, enjoy them fresh! To keep your cucumbers fresh, wait to add dressing until you serve. This prevents them from getting soggy. You can also store them with paper towels. The towels soak up extra moisture, keeping your dish crisp and tasty. Mexican-style cucumbers stand out due to their unique seasoning blends. I use fresh, vibrant ingredients like lime juice, smoky chili powder, and cilantro. These flavors combine to create a refreshing taste that dances on your palate. The mix of spices gives a fun twist to simple cucumbers, making them a delightful dish. Yes, you can easily make this recipe vegan. Just replace queso fresco with a plant-based cheese alternative. This change keeps the dish creamy and delicious while fitting a vegan diet. You can still enjoy all the flavors without dairy. These cucumbers shine as a side dish with grilled meats. They also work well as a standalone salad. Pair them with tacos, chicken, or fish for a complete meal. Their crispness complements rich dishes perfectly. Letting cucumbers marinate for at least 10 minutes is best. This time allows the flavors to meld together. However, if you let them sit longer, the taste gets even better. Just be sure to keep them at room temperature, and they will be ready to serve. Mexican-style cucumbers are low in calories and rich in vitamins. They provide hydration, making them perfect for hot days. This dish is also great for weight loss, as it fills you up without adding many calories. Enjoy the freshness guilt-free! This blog post covered the core ingredients and step-by-step instructions to make delicious Mexican-style cucumbers. We discussed how to enhance flavors and provided tips for presentation. You can easily vary the recipe to suit your taste or dietary needs. Remember to store leftovers properly for the best taste. Enjoy refreshing, healthy cucumbers as a side or salad! Making them at home is simple, fun, and sure to impress anyone you serve. Your kitchen can be a hub of fresh taste!](https://fastmealmate.com/wp-content/uploads/2025/06/eb69b124-1af5-44a9-95ae-72c395866c25-768x768.webp)
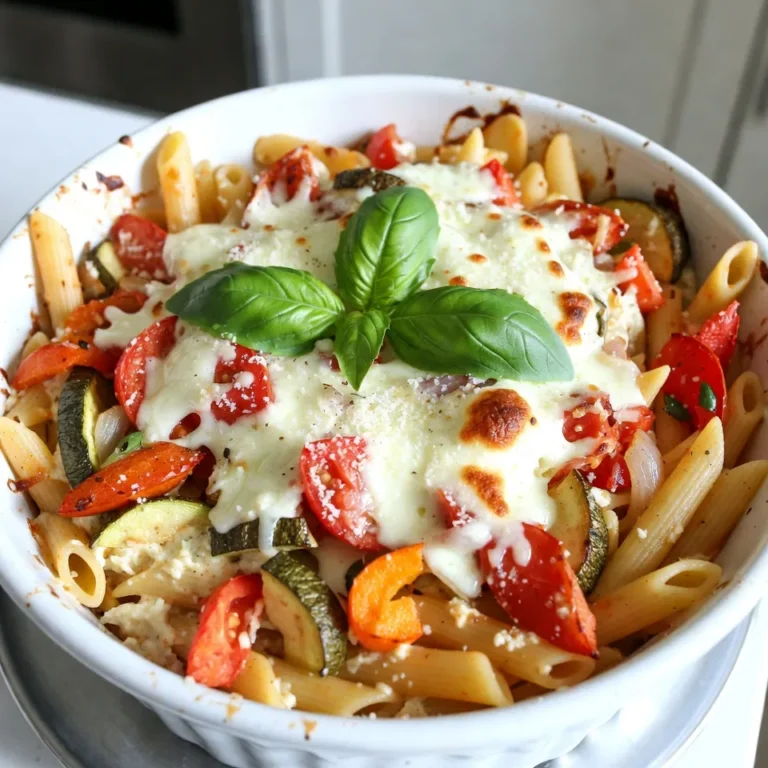
 to guide you through each step. - Preheat your oven to 375°F (190°C). - Rinse and prepare the quinoa and vegetables. To start, turn on your oven and set it to 375°F (190°C). This step ensures your oven is hot and ready when it’s time to bake. While it heats, take one cup of quinoa and rinse it under cool water. This helps remove any bitterness. Next, chop your zucchinis and bell pepper. Dice the zucchini into small cubes and chop the bell pepper into bite-sized pieces. Don’t forget to finely dice one small onion and mince three cloves of garlic. - Sauté onion and garlic in olive oil until translucent. - Add zucchini and bell pepper, cooking until softened. Next, grab a medium saucepan. Add one tablespoon of olive oil and heat it over medium. Once the oil is warm, toss in your diced onion and minced garlic. Stir them for about 3-4 minutes. You want the onion to turn translucent and smell great. After that, add the diced zucchini and chopped bell pepper. Cook these veggies for around 5 minutes, stirring often. They should soften but still have a little crunch. - Mix in quinoa, cherry tomatoes, broth, and seasonings. - Transfer to a casserole dish and bake for 20-25 minutes. Now comes the fun part! Mix in your rinsed quinoa, one cup of halved cherry tomatoes, and two cups of vegetable broth into the pan. Add one teaspoon of dried oregano, one teaspoon of dried basil, and sprinkle salt and pepper to taste. Stir everything well to combine. Bring this mix to a gentle boil. Once it bubbles, reduce the heat to low, cover the pan, and let it simmer for 15 minutes. This allows the quinoa to absorb the broth. Once done, transfer the mixture into a lightly greased 9x13 inch casserole dish. If you love cheese, sprinkle one cup of shredded mozzarella on top. Place the dish in your preheated oven and bake for 20-25 minutes. You’ll know it’s ready when it bubbles and the cheese is golden brown. To make fluffy quinoa, rinse it well before cooking. This removes the bitter coating called saponin. Use two cups of vegetable broth for one cup of quinoa. Bring it to a boil, then lower the heat and cover. Let it simmer for 15 minutes. After cooking, let it rest for five minutes before fluffing with a fork. This will keep it light and airy. For the vegetables, sauté onion and garlic first in olive oil. Cook them until they are soft and fragrant. Then add zucchini and bell pepper. Stir them for about five minutes until they soften. This builds a great flavor base for your casserole. To elevate the dish, try adding a pinch of red pepper flakes for heat. Fresh herbs like thyme or parsley can add brightness. You can also swap out the dried oregano and basil for fresh herbs. Fresh herbs bring a stronger flavor. If you want to change ingredients, use brown rice instead of quinoa. You can also add cooked beans for a protein boost. For a creamier texture, mix in some ricotta cheese or yogurt before baking. Pair the casserole with a light side salad or some crusty bread. A fresh garden salad with lemon vinaigrette works well. It adds a nice contrast to the warm casserole. For gatherings, serve the casserole directly from the dish. Garnish with fresh basil leaves to make it look inviting. You can also sprinkle some extra cheese on top just before serving for a melty touch. {{image_4}} You can easily change the vegetables in this casserole. Try using bell peppers, spinach, or even eggplant. These swaps keep the dish vibrant and fresh throughout the summer. You can also mix in seasonal veggies like corn or cherry tomatoes for a burst of flavor. If you need a quinoa substitute, consider using brown rice or farro. These grains add a nice texture and flavor. Other options include couscous or even cauliflower rice for a low-carb choice. To make this casserole vegan, simply skip the cheese or use a plant-based cheese. You'll still get a creamy texture from the cooked veggies and broth. For a gluten-free option, use certified gluten-free quinoa. This way, everyone can enjoy the dish. If you're looking to cut calories, reduce the olive oil or skip the cheese. You can also use less quinoa and bulk up with more veggies. This keeps the dish light, tasty, and full of nutrients. Each of these variations allows you to enjoy this Summer Zucchini Quinoa Casserole in your own way. For the full recipe, check out the detailed instructions above. To keep your summer zucchini quinoa casserole fresh, first let it cool. Once cool, store it in an airtight container. You can refrigerate it for up to five days. If you want to save it for later, freeze it. Use a freezer-safe container or heavy-duty freezer bags. This way, it can last for up to three months. Remember to label the container with the date. This helps you track how long it has been stored. When you want to enjoy the casserole again, reheating is easy. For the best texture, use an oven. Preheat the oven to 350°F (175°C). Place the casserole in an oven-safe dish and cover it with foil. Heat for about 20 minutes or until warm. If you're in a hurry, you can use the microwave. Place a single serving in a microwave-safe dish. Heat for 1-2 minutes, checking every 30 seconds. This will keep the flavors and texture intact. Enjoy your delicious meal! Can I prepare the Summer Zucchini Quinoa Casserole in advance? Yes, you can prepare it ahead of time. Make the casserole, then cover and refrigerate it. When you're ready to eat, just bake it straight from the fridge. You may need to add a few more minutes to the cooking time. How to customize the recipe to suit my taste preferences? Feel free to swap out the veggies. For instance, you can use spinach, carrots, or even corn. You can also change the cheese or add some cooked chicken for extra protein. What are the best herbs to use for added flavor? Fresh herbs like basil and thyme work great. You can also try parsley or cilantro. These herbs add a fresh taste and brighten up your dish. Is this recipe suitable for a low-carb diet? This recipe is not low-carb due to the quinoa. Quinoa has more carbs than other grains but is also high in protein. If you want a lower carb option, you can use cauliflower rice instead of quinoa. What are the main nutritional benefits of zucchini and quinoa? Zucchini is low in calories and high in vitamins A and C. It also has a lot of water, which keeps you hydrated. Quinoa is a complete protein, meaning it has all nine essential amino acids. It’s also high in fiber, which is good for digestion. What should I do if my casserole is too watery? If your casserole is watery, try draining some liquid before baking. You can also bake it longer to help it thicken up. How can I prevent the quinoa from sticking together? To prevent sticking, rinse the quinoa well before cooking. This removes excess starch. Also, fluff the quinoa with a fork after it cooks to keep it separate. For the full recipe, check out the details above! You learned how to make a tasty Summer Zucchini Quinoa Casserole. We covered the ingredients, simple steps, and tips for perfect results. You can adjust the recipe to fit your taste and needs. Explore flavor swaps and storage tips to keep it fresh. With this dish, enjoy a healthy meal that is easy to make. I hope you try it and enjoy every bite!](https://fastmealmate.com/wp-content/uploads/2025/07/552d1654-693f-4b1b-8ee9-d91b85ff9950-768x768.webp)