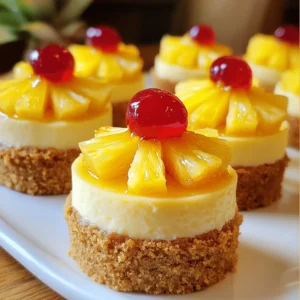
Mini Pineapple Upside-Down Cheesecakes Flavor Burst
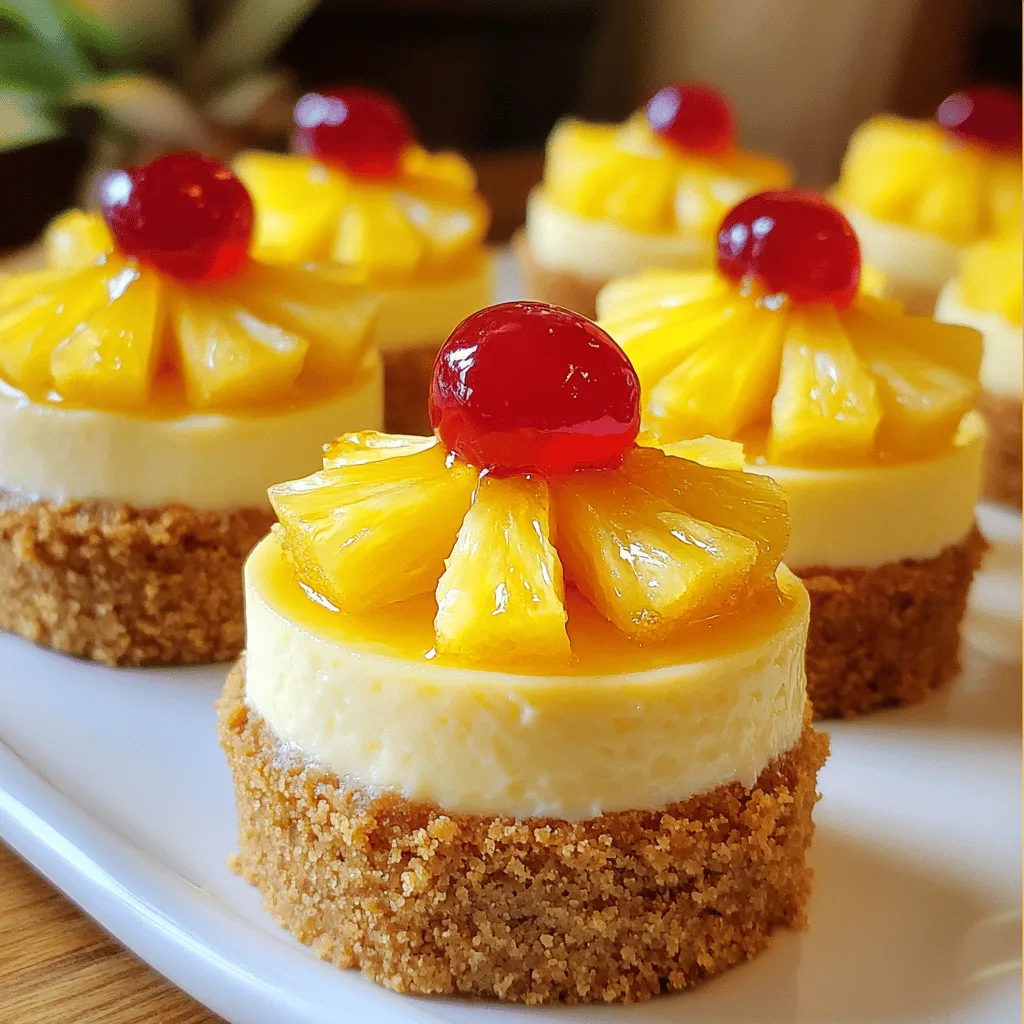
Are you ready to indulge in a delicious twist on a classic dessert? These Mini Pineapple Upside-Down Cheesecakes pack a flavor punch in every bite! With a buttery crust and creamy filling, they’re perfect for any occasion. In this guide, I’ll share step-by-step instructions and tips to help you create the perfect mini cheesecakes. Let’s dive into the world of sweet treats and discover how to make this delightful recipe together!
Ingredients
Detailed Ingredients List
– 1 cup graham cracker crumbs
– ¼ cup unsalted butter, melted
– 2 tablespoons granulated sugar
– 1 cup cream cheese, softened to room temperature
– ½ cup granulated sugar
– 1 teaspoon pure vanilla extract
– 2 large eggs, at room temperature
– ½ cup crushed pineapple, thoroughly drained
– ¼ cup pineapple chunks, for topping
– Maraschino cherries, for garnish
Measurement Conversions
– 1 cup = 8 fluid ounces
– ¼ cup = 2 fluid ounces
– 2 tablespoons = 1 fluid ounce
– 1 teaspoon = 4.9 milliliters
Tips for Selecting Fresh Ingredients
– Choosing the right cream cheese: Look for cream cheese that is smooth and creamy. Check the expiration date. The fresher the cheese, the better your cheesecake will taste.
– Selecting ripe pineapples: Choose pineapples that smell sweet at the base. The skin should be firm but give slightly when pressed. A ripe pineapple will feel heavy for its size and have a vibrant color.
This section gives you essential details about the ingredients in your mini pineapple upside-down cheesecakes.
Step-by-Step Instructions
Preparation Steps
– Preheating the oven: Start by preheating your oven to 325°F (160°C). This step helps bake the cheesecakes evenly.
– Preparing the crust: In a medium bowl, mix 1 cup of graham cracker crumbs, ¼ cup of melted unsalted butter, and 2 tablespoons of granulated sugar. Stir until it looks like wet sand. Press about 1 tablespoon of this mix into the bottom of each muffin cup. This will create a strong base for your mini cheesecakes.
Cheesecake Filling Instructions
– Mixing cream cheese and sugar: Use a large mixing bowl to beat 1 cup of softened cream cheese until it’s smooth. Gradually add ½ cup of granulated sugar and 1 teaspoon of pure vanilla extract. Mix until it’s creamy and well blended.
– Adding eggs and folding in pineapple: Add 2 large eggs one at a time. Mix on low speed after each egg until just blended. Be careful not to overmix. Next, gently fold in ½ cup of thoroughly drained crushed pineapple. This gives your cheesecake a fruity twist.
Final Assembly & Baking
– Filling the cups and topping with pineapple: Carefully spoon the cheesecake batter over the prepared crusts. Fill each cup about ¾ full. Leave some space for the cheesecakes to rise. Then, add a few chunks of pineapple on top of the batter.
– Baking time and tips for checking doneness: Place the cheesecake pan into the oven and bake for 18-20 minutes. Look for slightly set edges and a jiggly center. The slight jiggle means a creamy texture. After baking, let the cheesecakes cool for 30 minutes. Then, refrigerate them for at least 2 hours before serving. This step allows the flavors to blend and the texture to firm up.
Tips & Tricks
Achieving the Perfect Texture
To make light and fluffy cheesecakes, avoid overmixing the batter. Mix just until smooth, especially after adding eggs. This keeps air in the mixture, making your cheesecakes soft.
Cooling is key. After baking, let the cheesecakes cool at room temperature for 30 minutes. Then, chill them in the fridge for at least 2 hours. This helps the flavors blend and the texture to firm up nicely.
Serving Suggestions
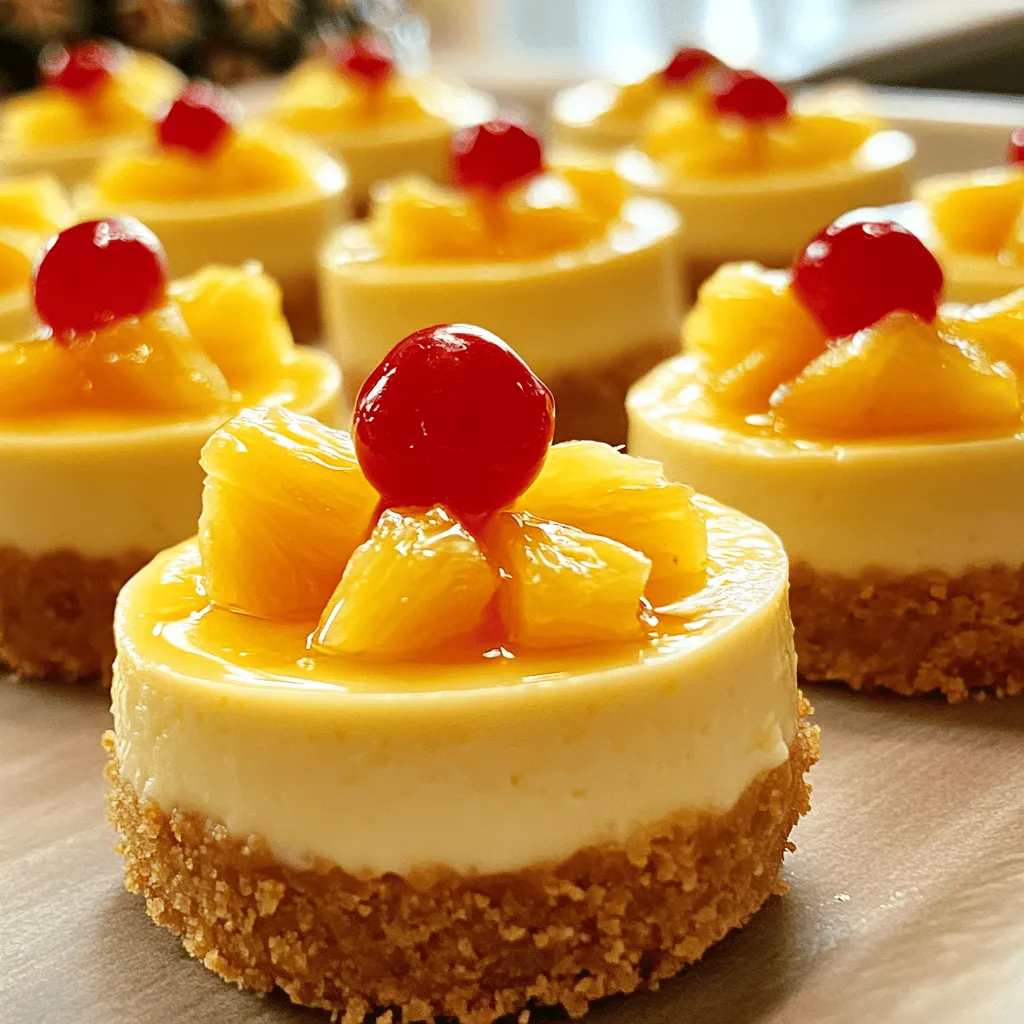
For a beautiful presentation, serve your mini cheesecakes on a decorative plate or a cake stand. You can add a mint leaf beside each one for a fresh touch. A maraschino cherry on top adds color and sweetness.
Pair these cheesecakes with drinks like iced tea or a fruity soda. They also go well with coffee, enhancing the sweet and tangy flavors.
Tools and Equipment
Use a mini cheesecake pan or muffin tin for the best results. Silicone baking cups are great, too. They help you pop the cheesecakes out easily.
Essential kitchen tools include a mixing bowl, electric mixer, and rubber spatula. These tools ensure you blend your ingredients smoothly and get the perfect texture every time.
Variations
Flavor Substitutions
You can swap out pineapple with other fruits. Try mango, peach, or berries. Each fruit brings a unique taste that can change the whole dish. For a fun twist, use flavor extracts like almond or coconut. Just a few drops can add a new layer of flavor.
Dietary Considerations
If you’re looking for gluten-free options, use gluten-free graham cracker crumbs. For dairy-free, try vegan cream cheese. You can also make these mini cheesecakes without eggs. Just use a mix of silken tofu and cornstarch as a binder. This keeps them creamy without the eggs.
Adjusting Serving Sizes
Want to make more or less? You can easily change the recipe. For a larger batch, double the ingredients and use a bigger pan. If you need fewer, cut the recipe in half. Just be mindful of the cooking times. Smaller pans need less time, so check them a bit earlier.
Storage Info
Refrigeration Guidelines
To keep your mini pineapple upside-down cheesecakes fresh, store them in the fridge. Place them in an airtight container. This helps avoid any strange smells and keeps them moist. These cheesecakes stay good for about five days in the refrigerator. Make sure they are cool before sealing the container.
Freezing Instructions
If you want to store the mini cheesecakes longer, freezing is a great option. First, wrap each cheesecake in plastic wrap. Then, place them in a freezer-safe bag or container. This helps prevent freezer burn. To thaw, move them to the fridge for a few hours. This keeps their creamy texture intact.
Reheating Tips
When you want to serve frozen cheesecakes, warm them up gently. You can use a microwave or an oven. If using a microwave, heat them for about 20-30 seconds at a low power. For the oven, preheat to 300°F (150°C) and bake for about 10 minutes. This warms them nicely without altering the texture. Enjoy them slightly warm or at room temperature for the best flavors.
FAQs
How long do mini cheesecakes last in the fridge?
Mini cheesecakes last about 4 to 5 days in the fridge. Make sure you store them in an airtight container to keep them fresh.
Can I make these cheesecakes ahead of time?
Yes, you can make these cheesecakes a day or two in advance. After baking and cooling, place them in the fridge. They will taste even better after chilling.
What can I use instead of graham cracker crumbs?
You can use crushed cookies, like vanilla wafers or digestive biscuits. Each option adds a unique flavor but may change the texture slightly.
How do I know when my cheesecakes are done?
Look for set edges and a slightly jiggly center. This means they are creamy and perfect.
Can I use fresh pineapple instead of canned?
Yes, fresh pineapple works great! Just make sure to chop it small and drain any excess juice. This will keep your cheesecakes from getting too wet.
These mini cheesecakes are easy to make and fun to share. I covered all the ingredients, including measurement conversions and tips for selecting the best fruits. The step-by-step guide will help you prepare, bake, and serve them perfectly. With variations for different diets and storage tips, these cheesecakes can fit any occasion. Experiment and enjoy! Your dessert table will shine with these delightful treats.